Food
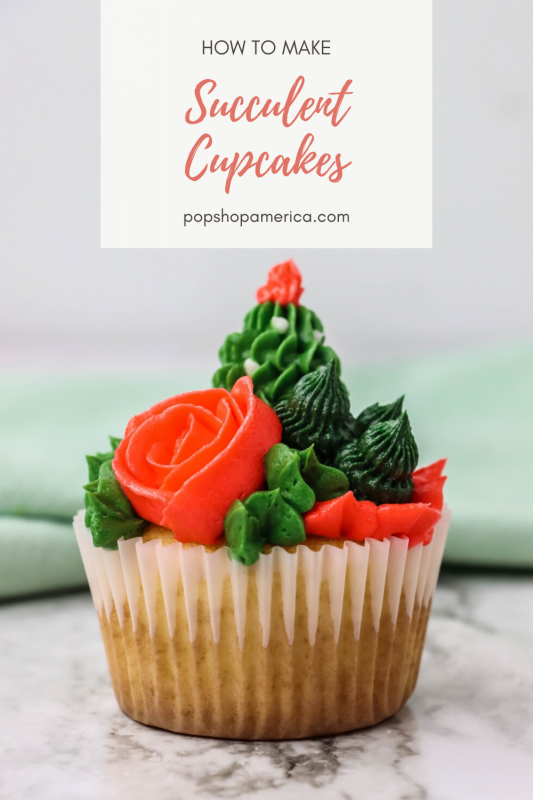
How to Make Succulent Cupcakes
Mar
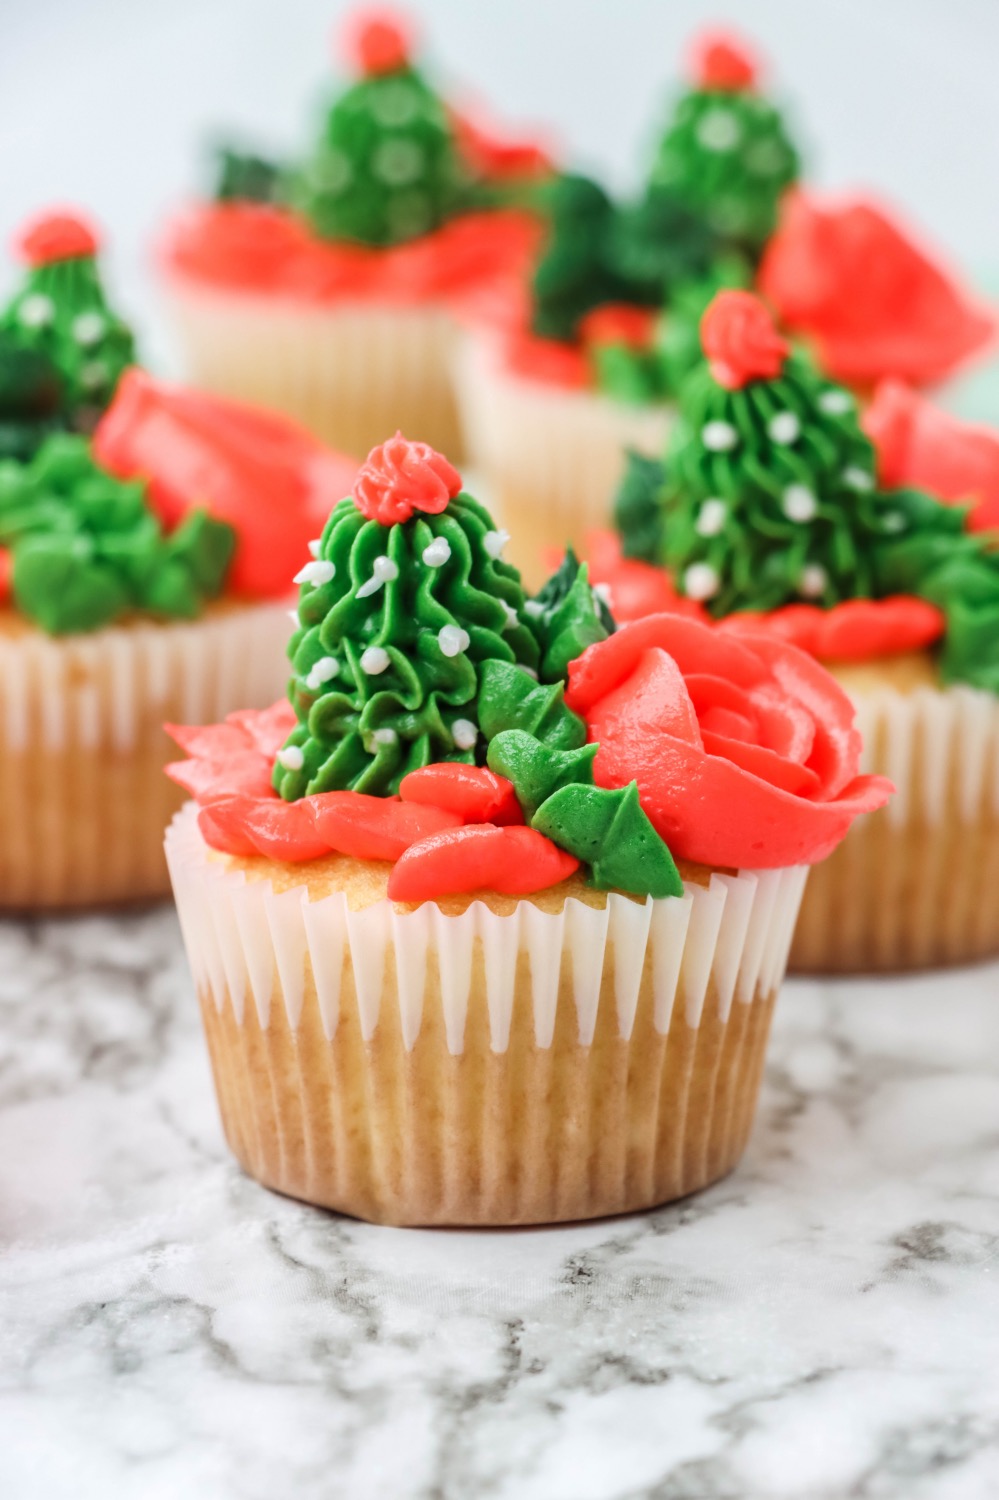
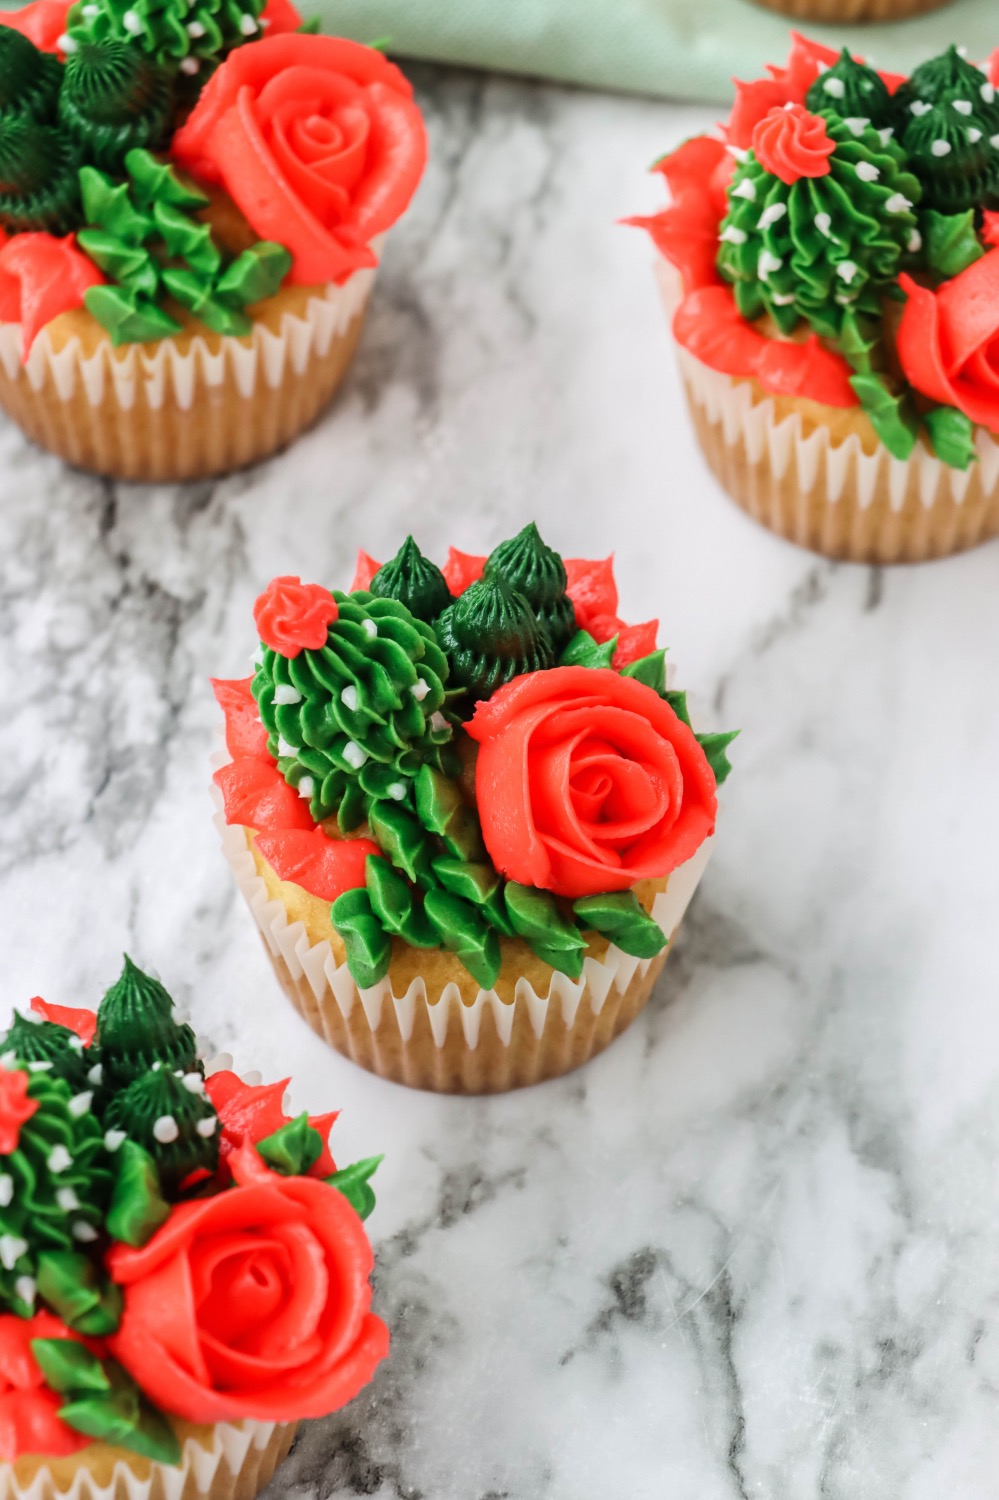
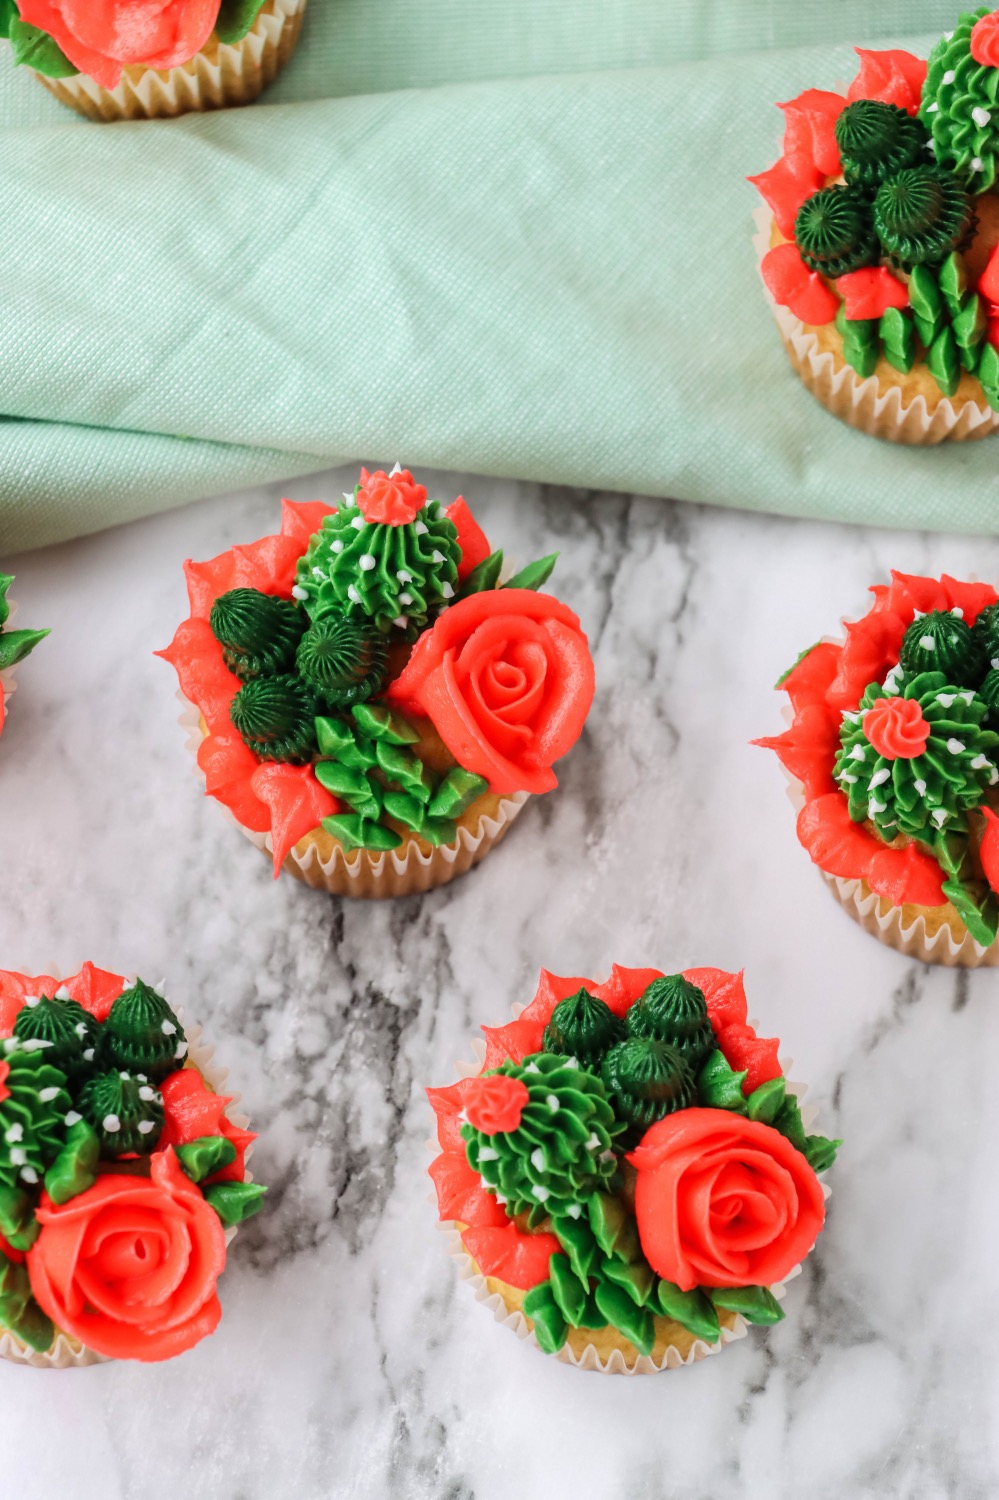
Move over, Edible Flower Cupcakes – Are you ready for the prettiest dessert in the whole world? These Succulent Cupcakes would be perfect for a bridal party, an outdoor wedding, or just for fun.
Would you believe me if I told you they are easier to make than you think? Okay, okay, they do have a lot of steps. And I wouldn’t call them beginner friendly. But as it turns out, the steps aren’t so complicated. I wouldn’t call making these advanced either!
So let’s get started.
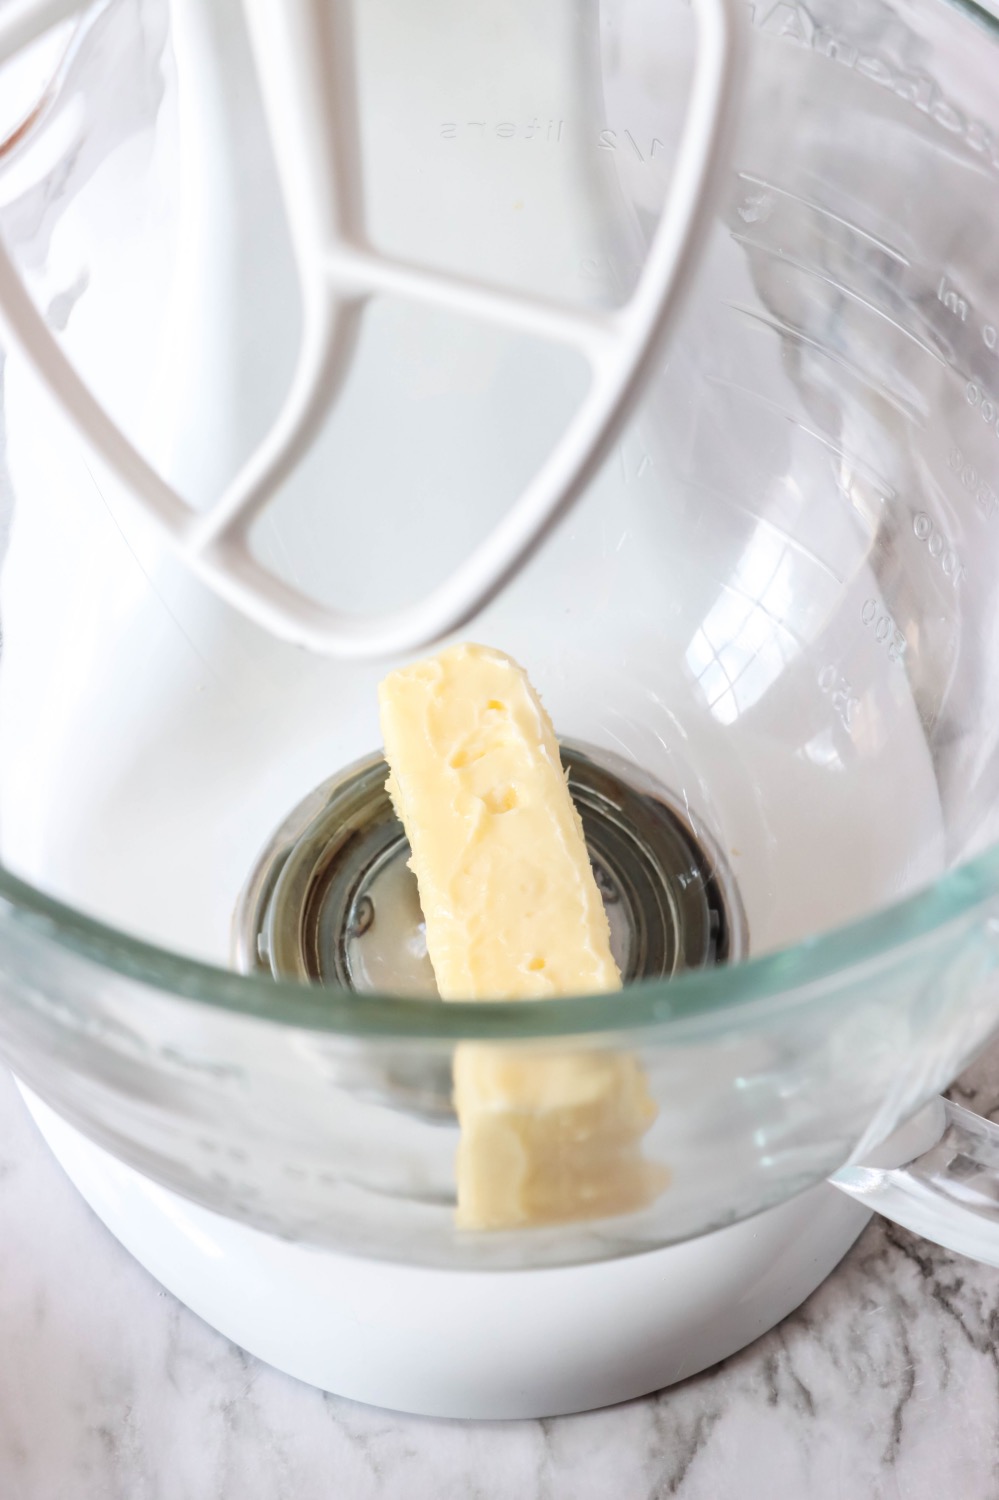
Make a Vanilla Cupcake
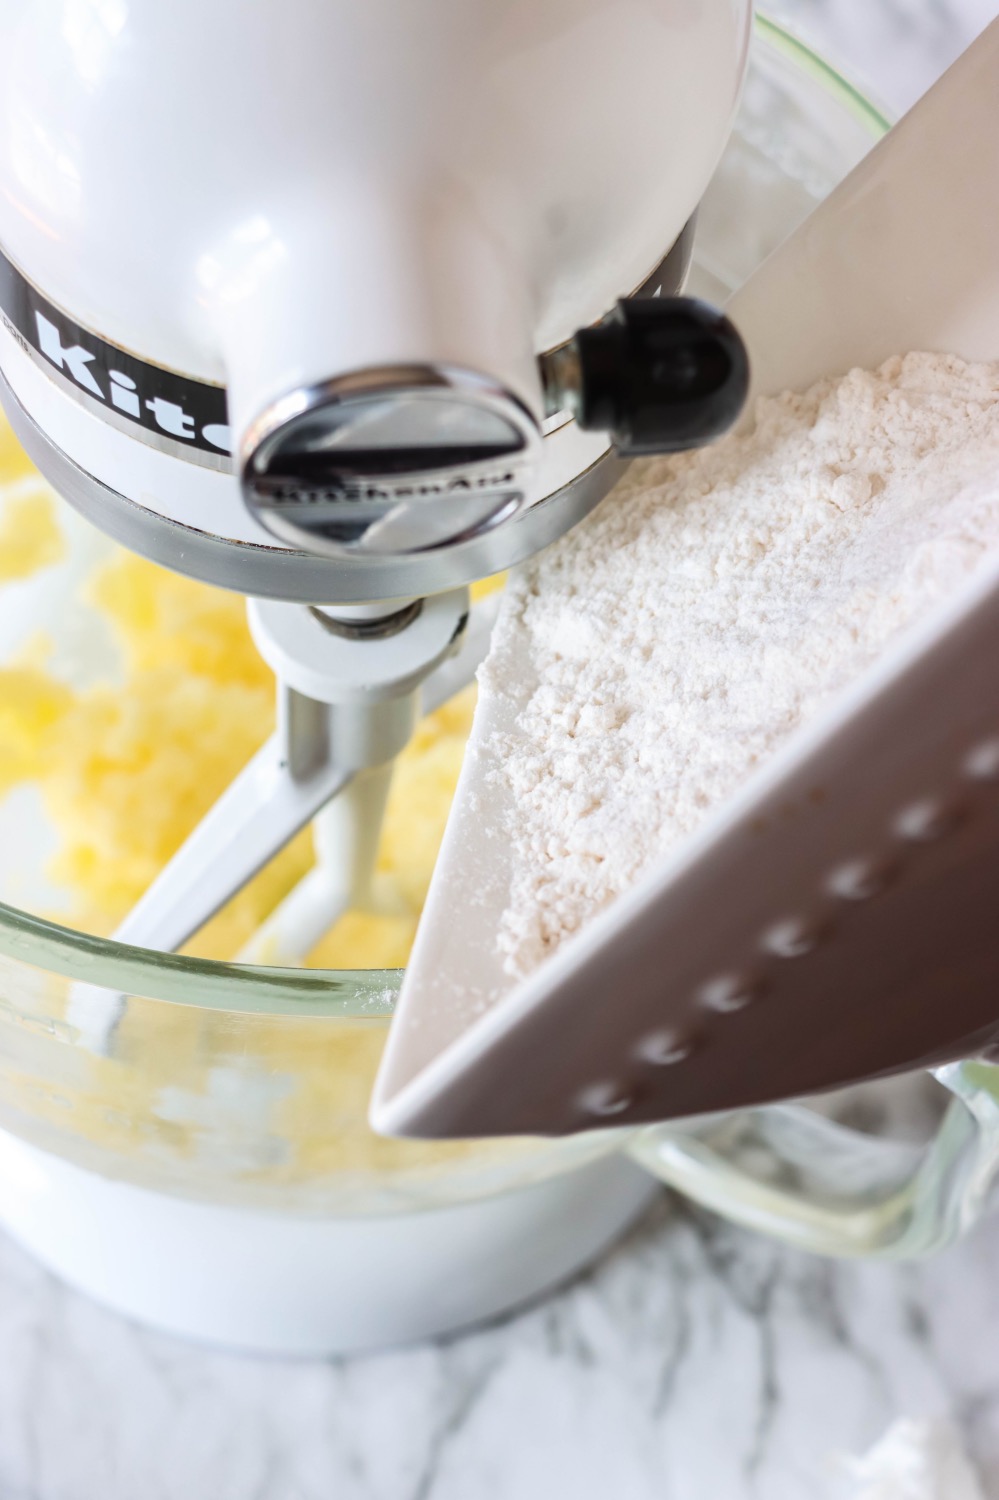
If you are going to make gorgeous cupcakes, you have to make them delicious too! These vanilla cupcakes have a beautiful pop of tangy flavor because I used sour cream in the recipe.
Sour cream is an underappreciated ingredient in desserts. In this case, it’s also a great way to add a complex, rich, and decadent flavor. It pairs so well with the butter, milk and vanilla in this recipe.

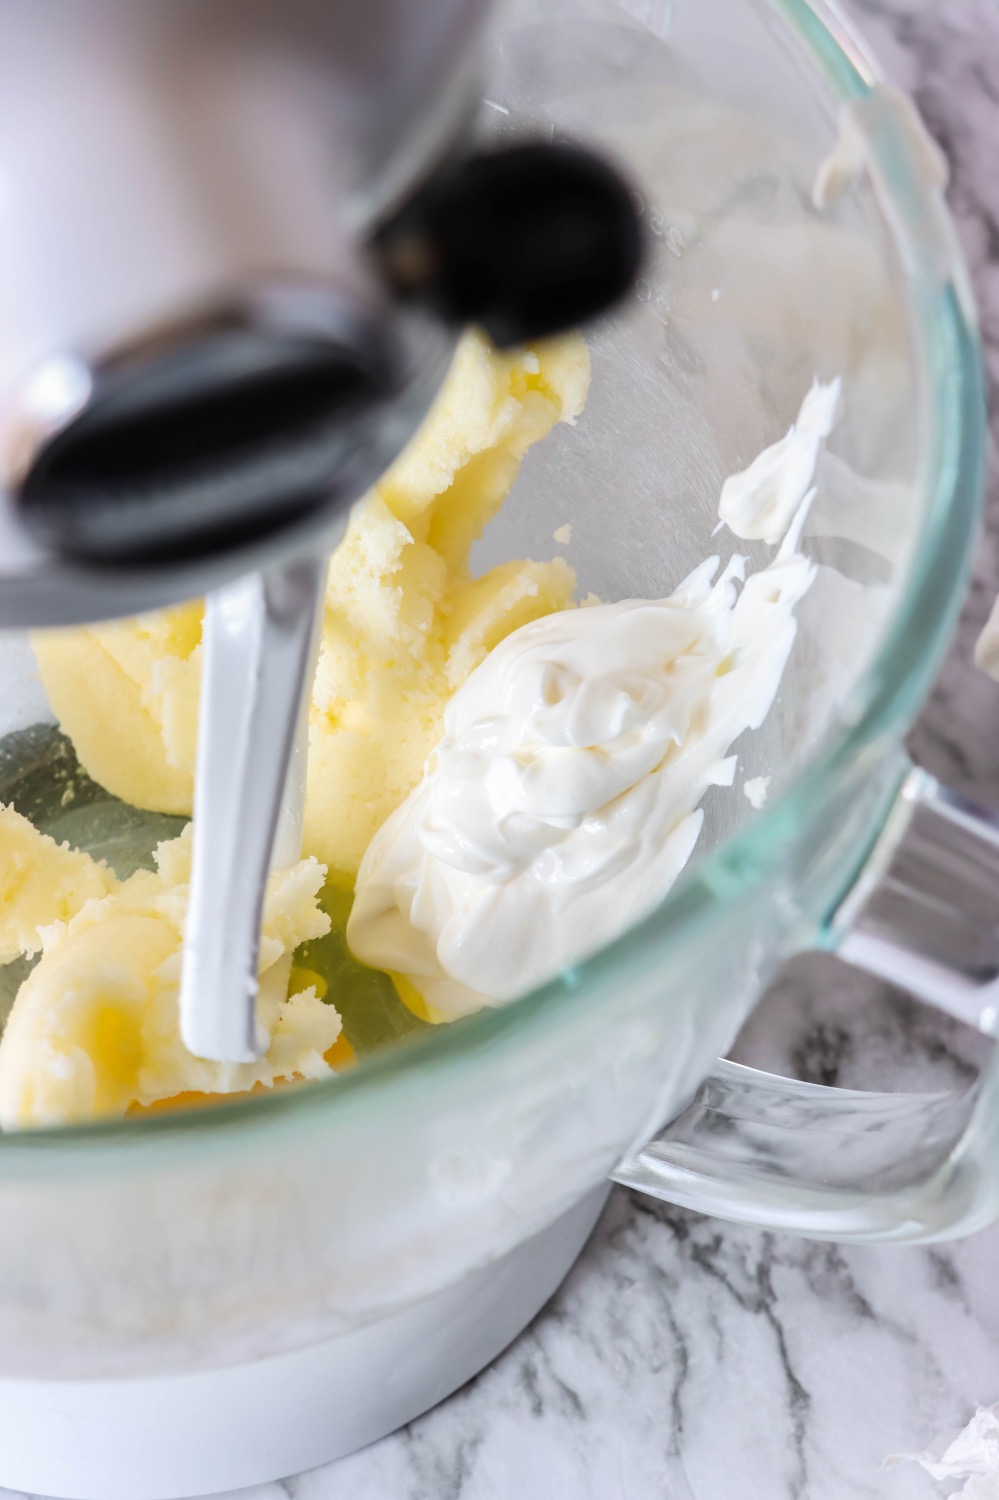
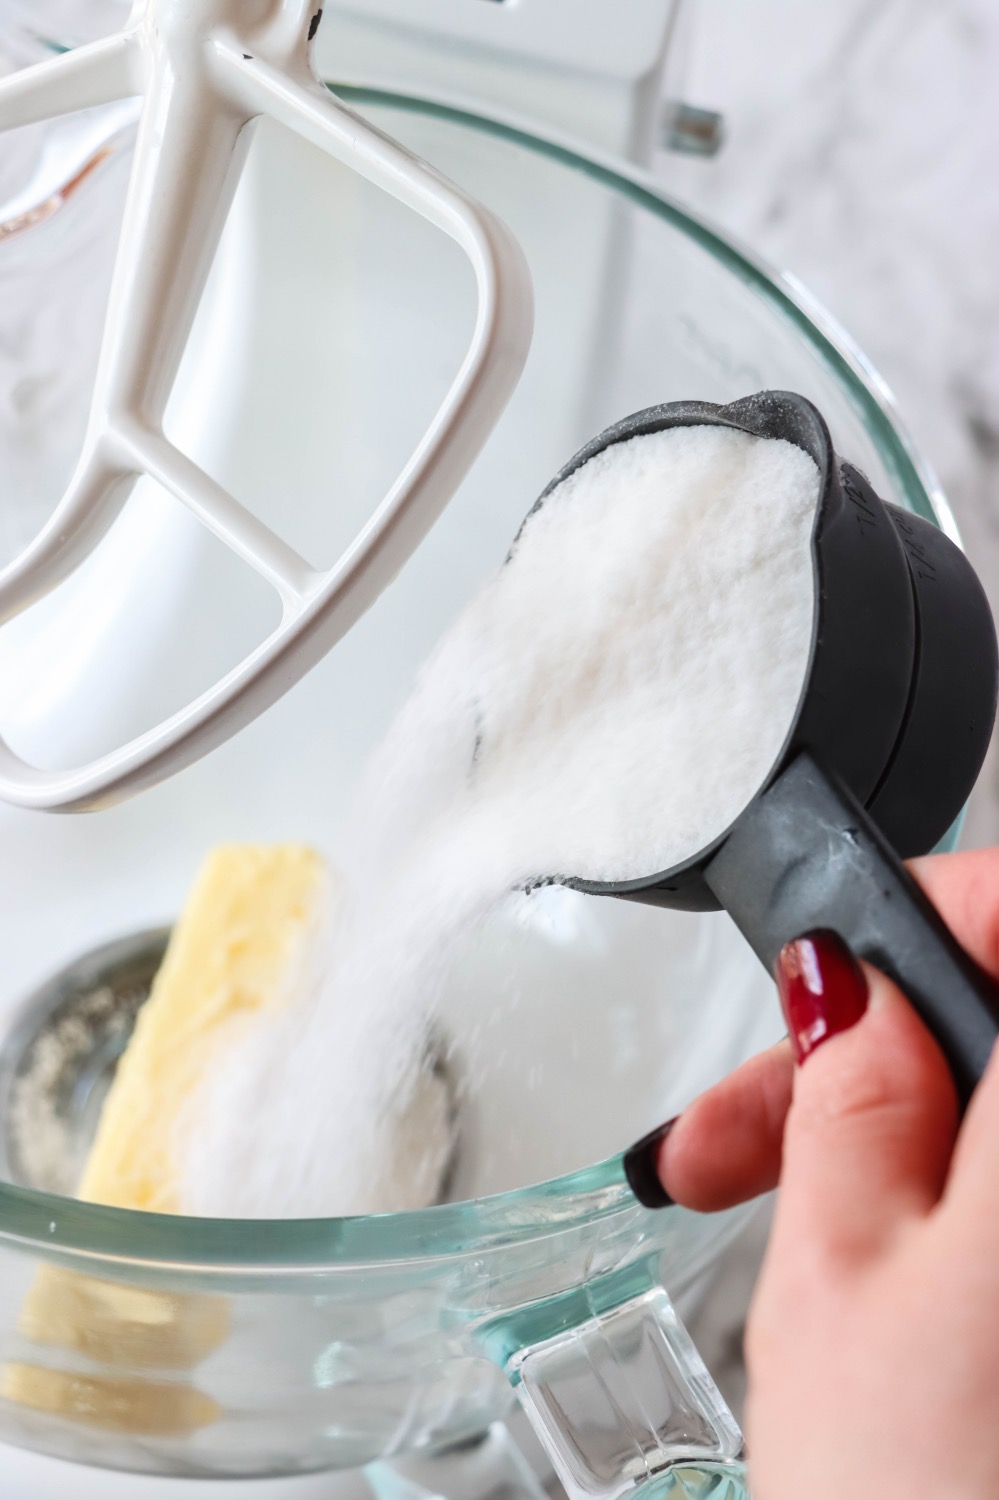
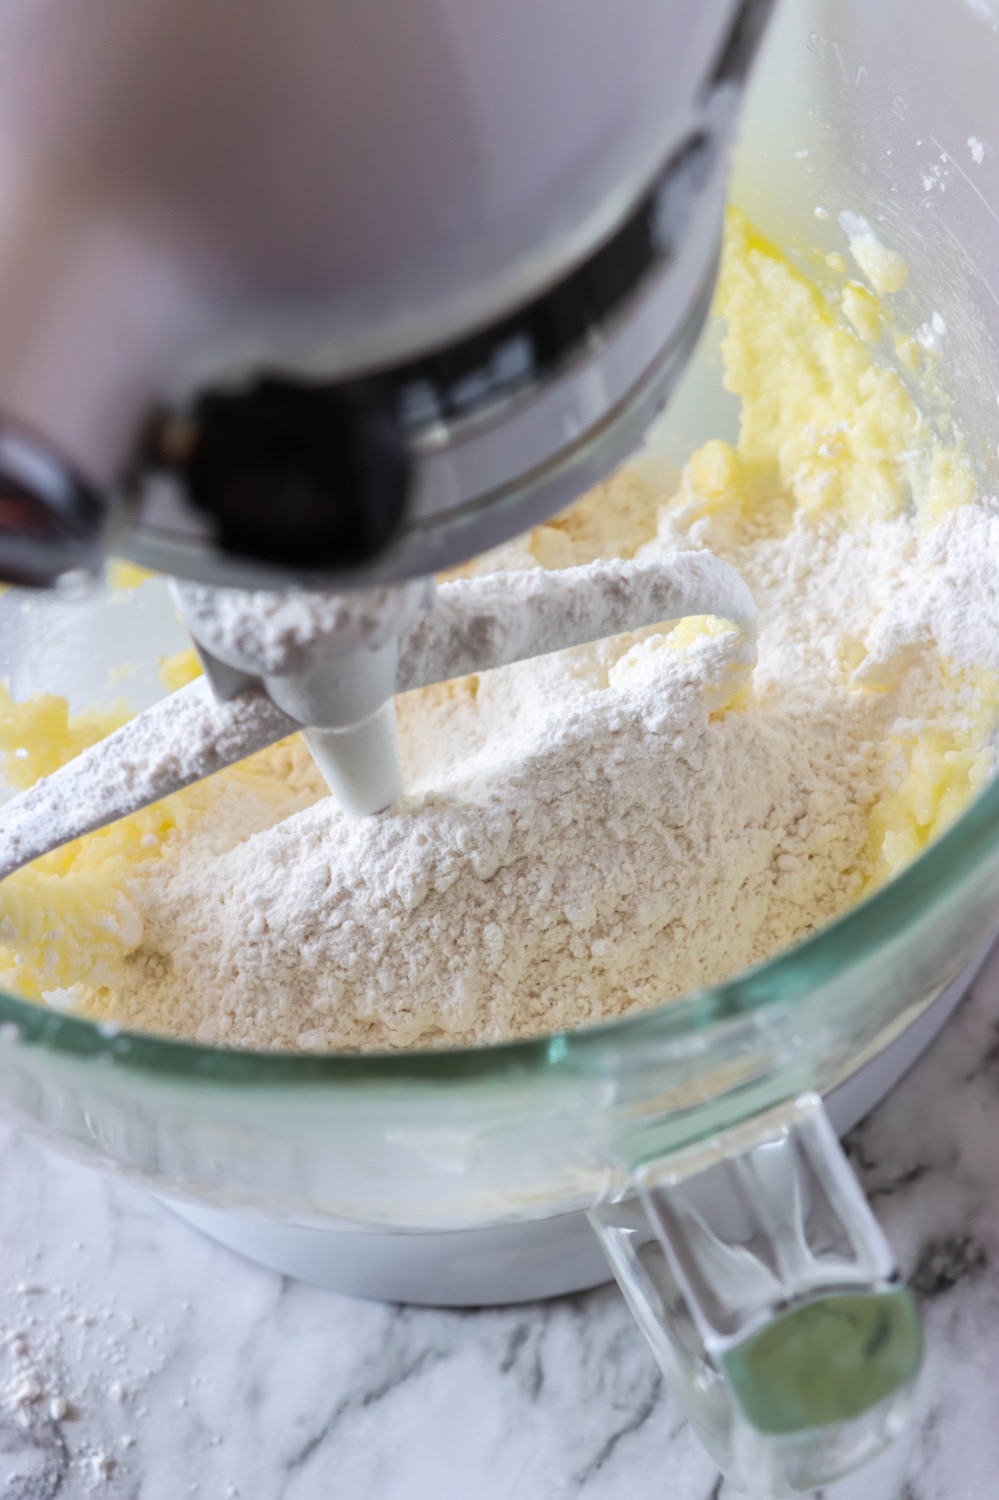
Beyond the sour cream and milk additions, preparing and baking these cupcakes is just like what you are used to!
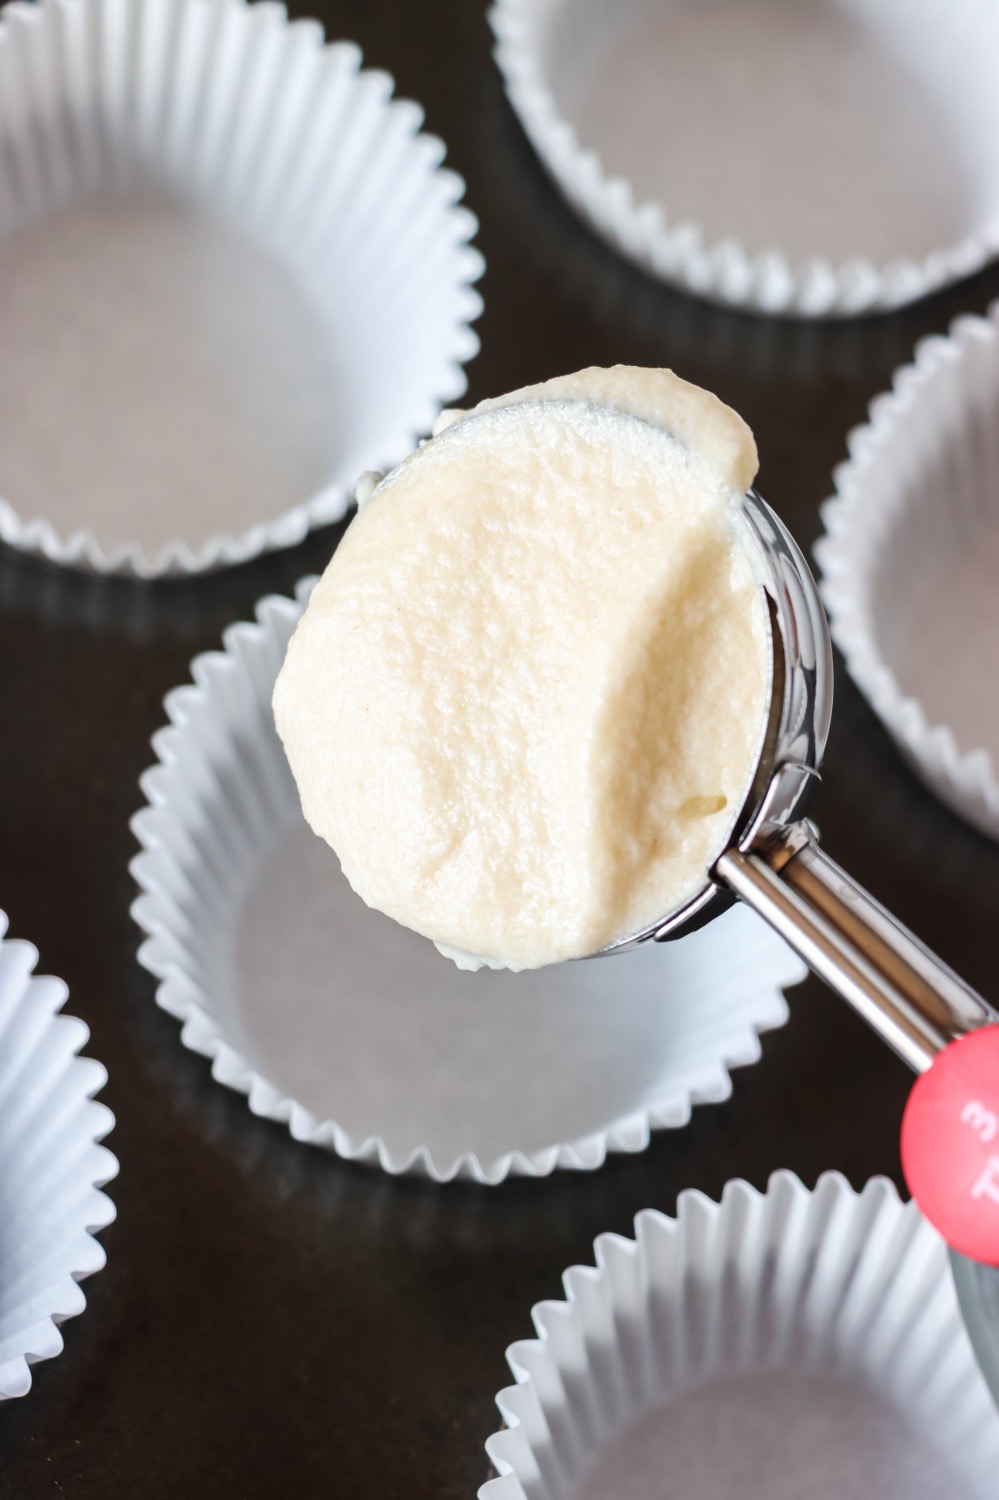
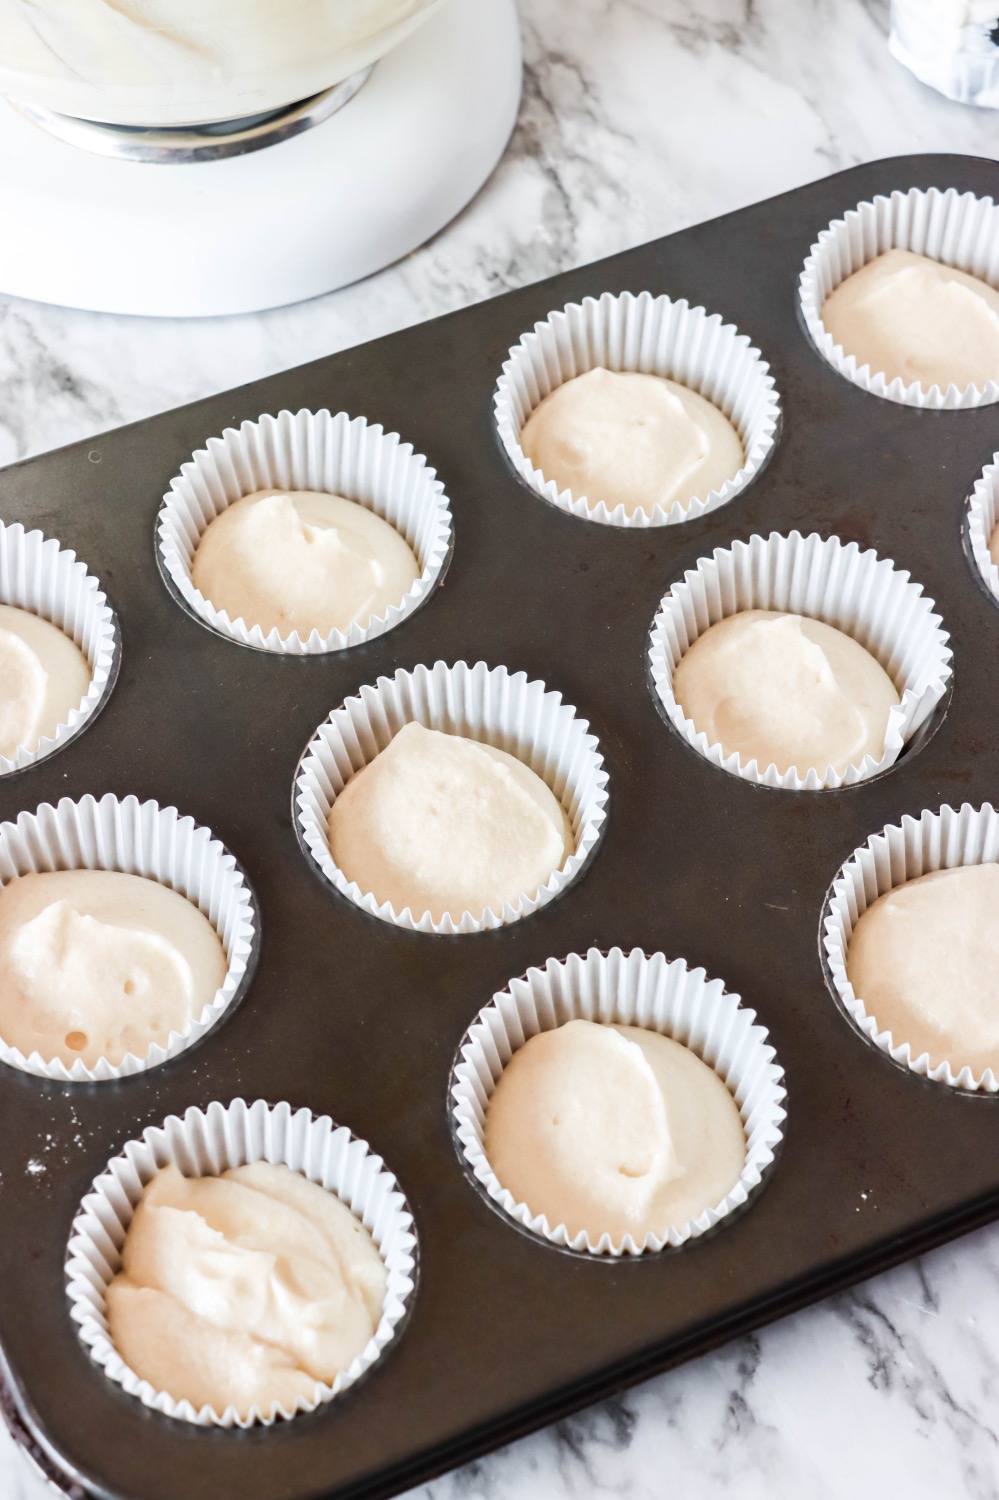
It is helpful to have a flatter shaped cupcake, once it’s done baking. Usually the goal would be to create a beautiful dome shape and let the cupcake rise. Although there’s no an exact science to making a flat cupcake, my trick is to peek at them in the oven every few minutes. That will let out the hot air and often prevent your cupcakes from rising.
Another important thing to know is that your cupcakes MUST be completely cooled before you frost them. So you could even bake the cupcakes the day before. In general, the fresher the better so I baked my cupcakes the same day and just let them cool completely first.
For your cupcakes to cool faster, after they are baked immediately remove them from the cupcake tin. Set them on a granite counter – or any counter available to you, uncovered.
Now this the perfect time to get your piping bags ready and here’s where the recipe becomes more detailed. I used food colors: Wilton Moss Green (in 2 hues: a dark and light), Wilton Peach, and white (no color added).
Thus, you will need 4 piping bags.
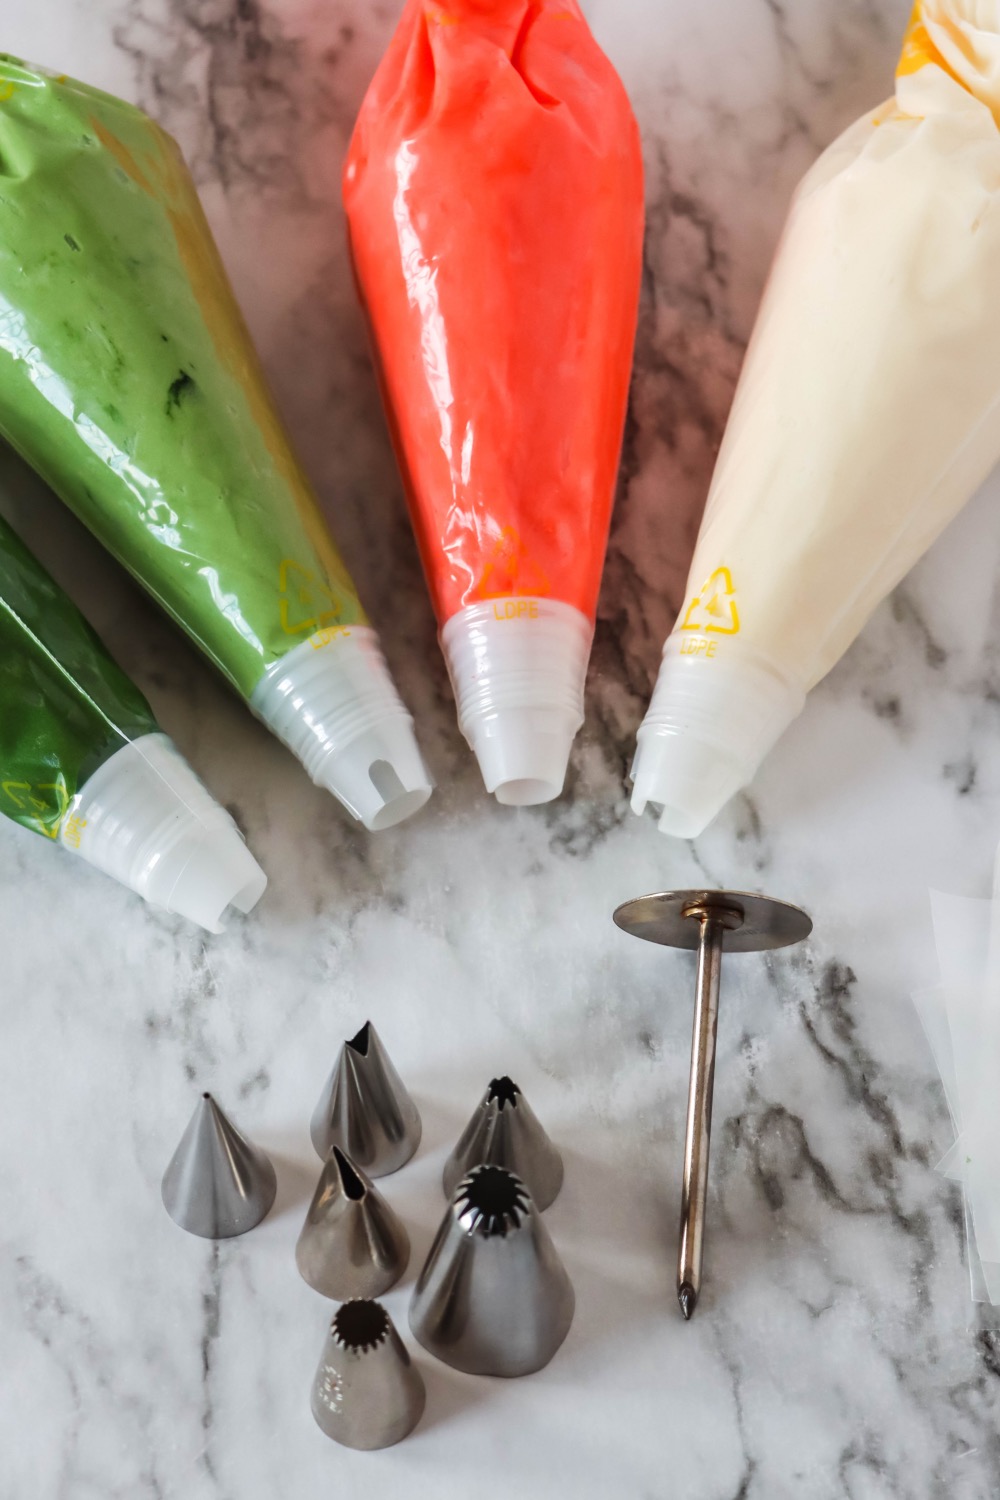
I also used 6 different frosting tips! Honestly, I’ve never used so many in my life.
The trick to this dessert is using these tips, and changing the tips. Like I said before, it’s just a lot of steps, but the actual technique to create the succulents and cacti is fairly simple!
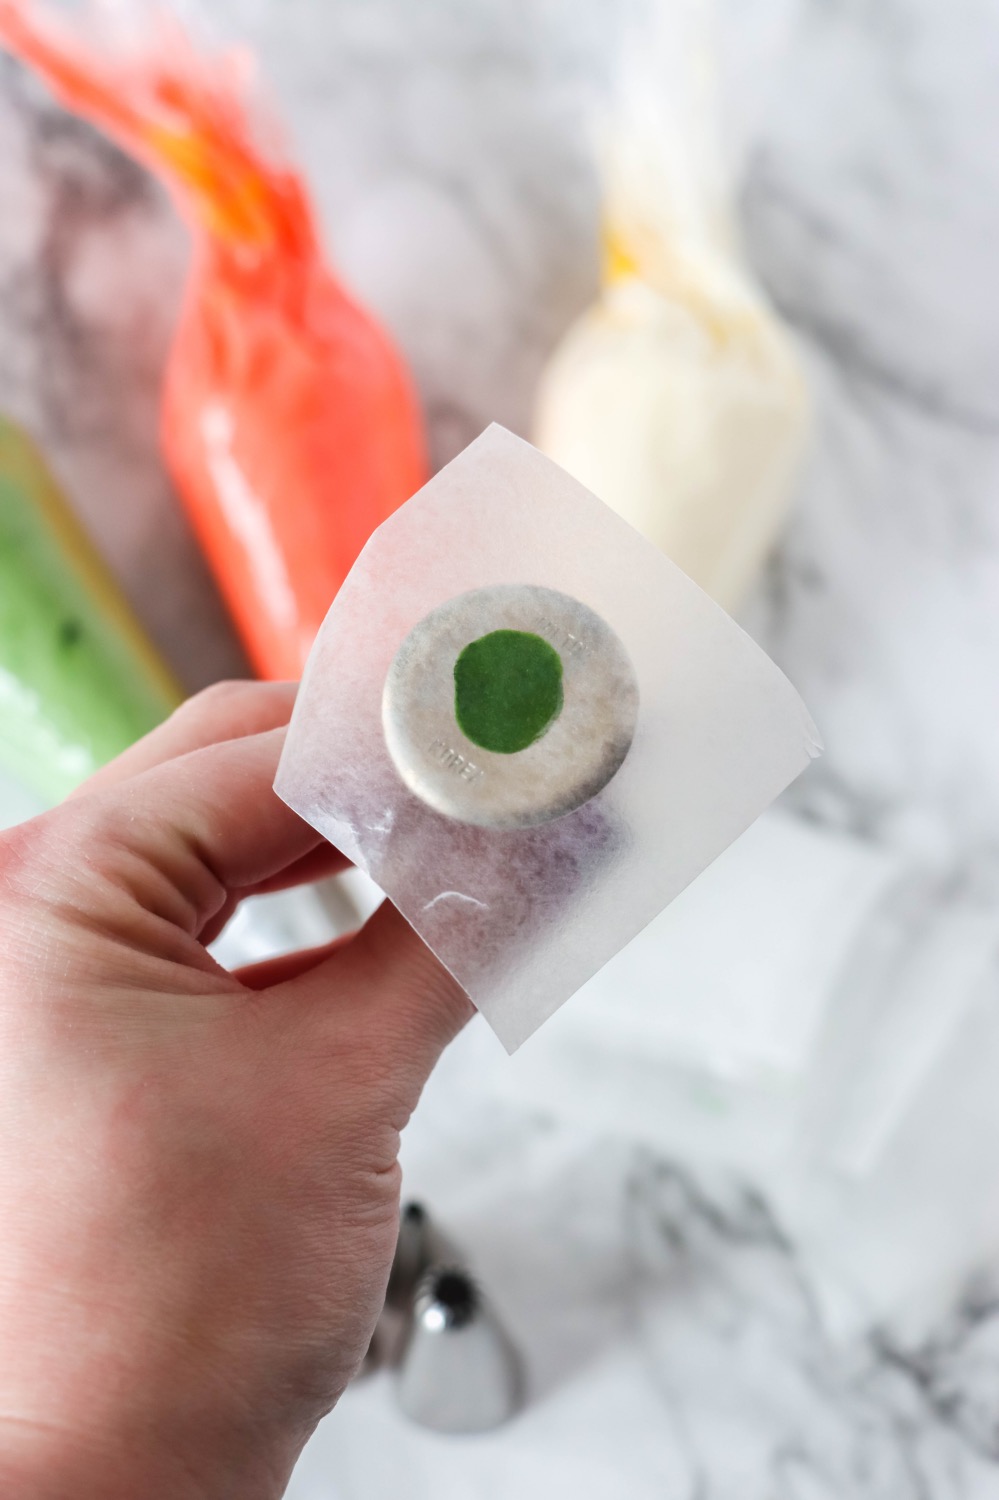
Now see what’s easier for you: Is it easier to work on a flat surface on top of one of your parchment squares? Or is it easier to make a handheld version with a cake nail? Try it both ways and see what works better for you.
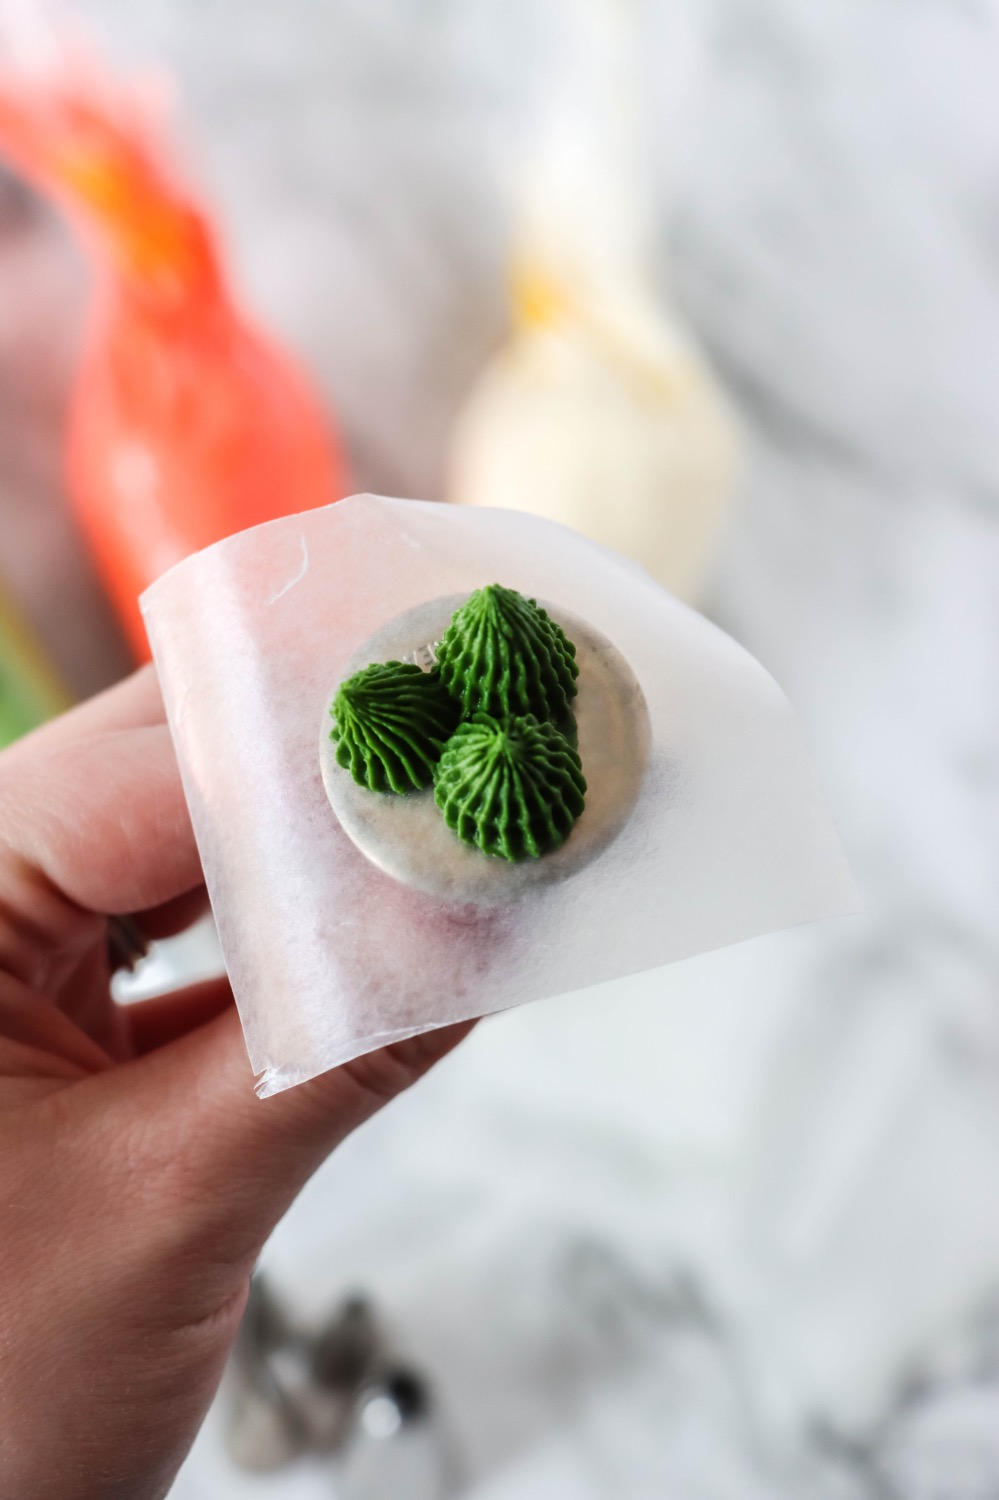
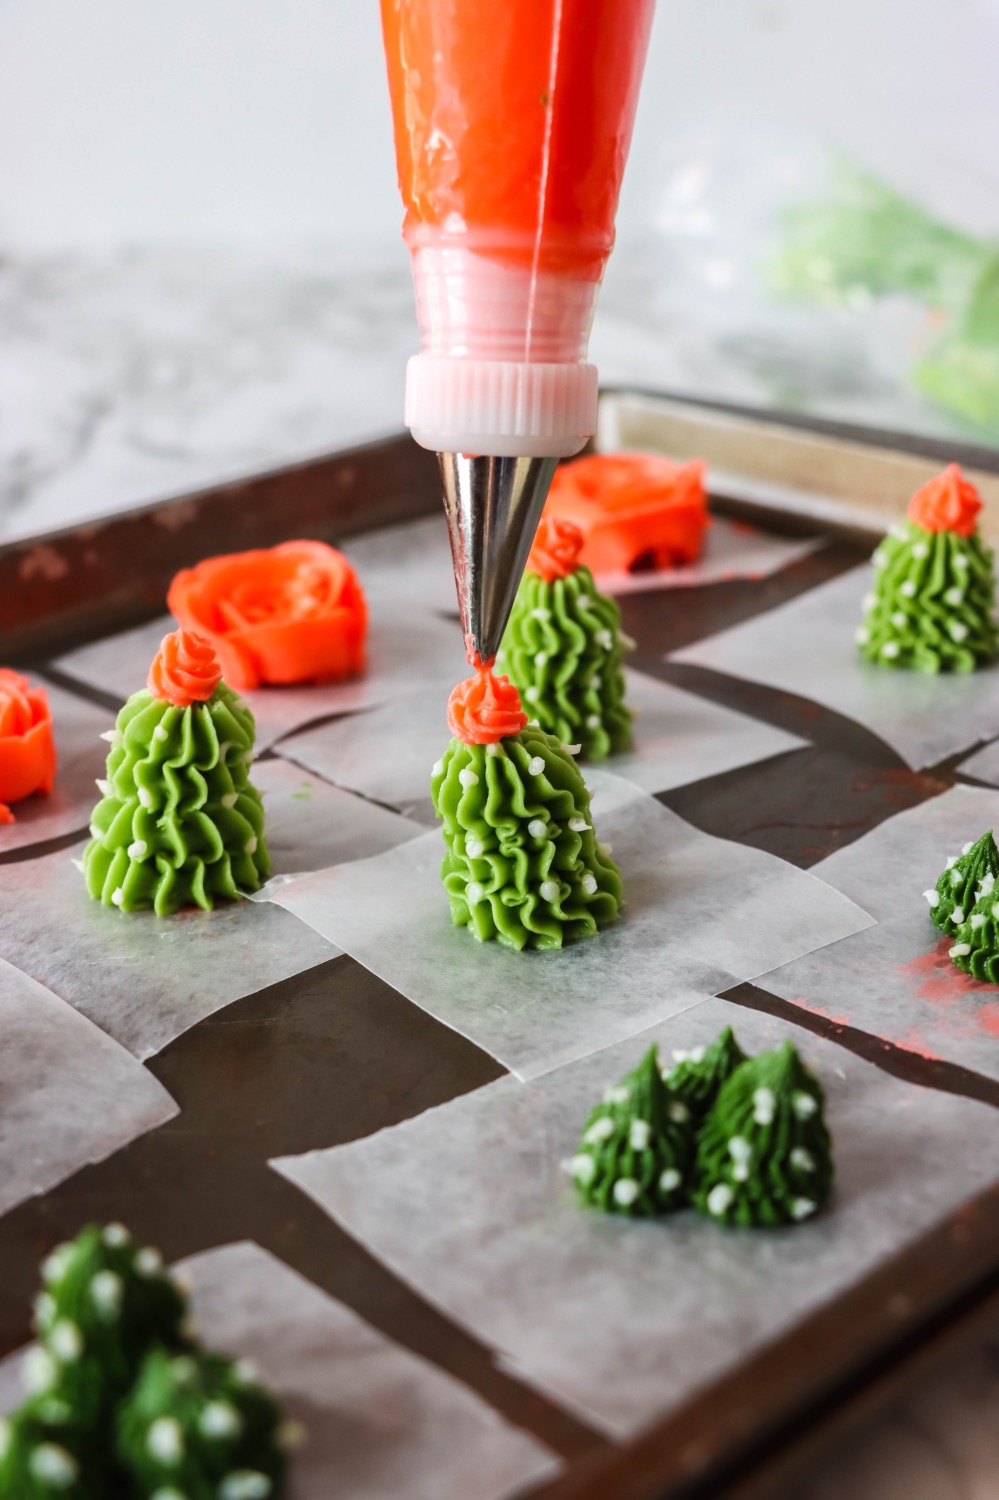
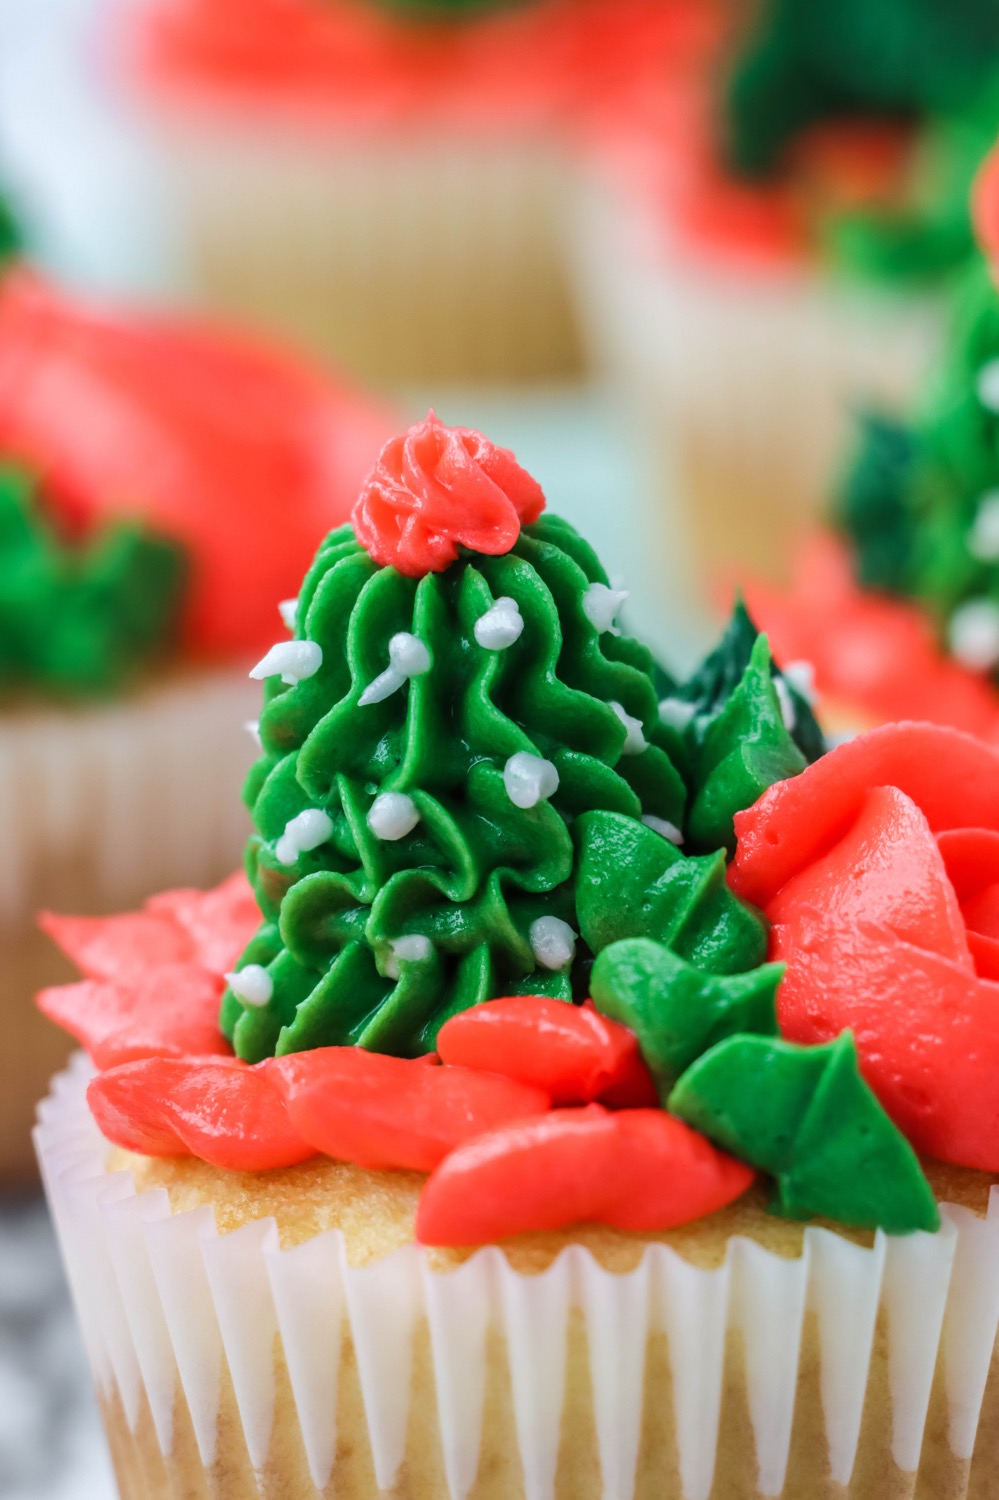
To make the first succulent, use your #199 tip with your darker colored moss green frosting. With the piping bag completely vertical, squeeze the bag while pulling upwards and releasing pressure. Continue 2-3 times until you get the desired height of the cactus.
It’s almost as if you are making a wave pattern with the pressure of your squeeze while you also move your hand upward, then keep it still, then move up again.
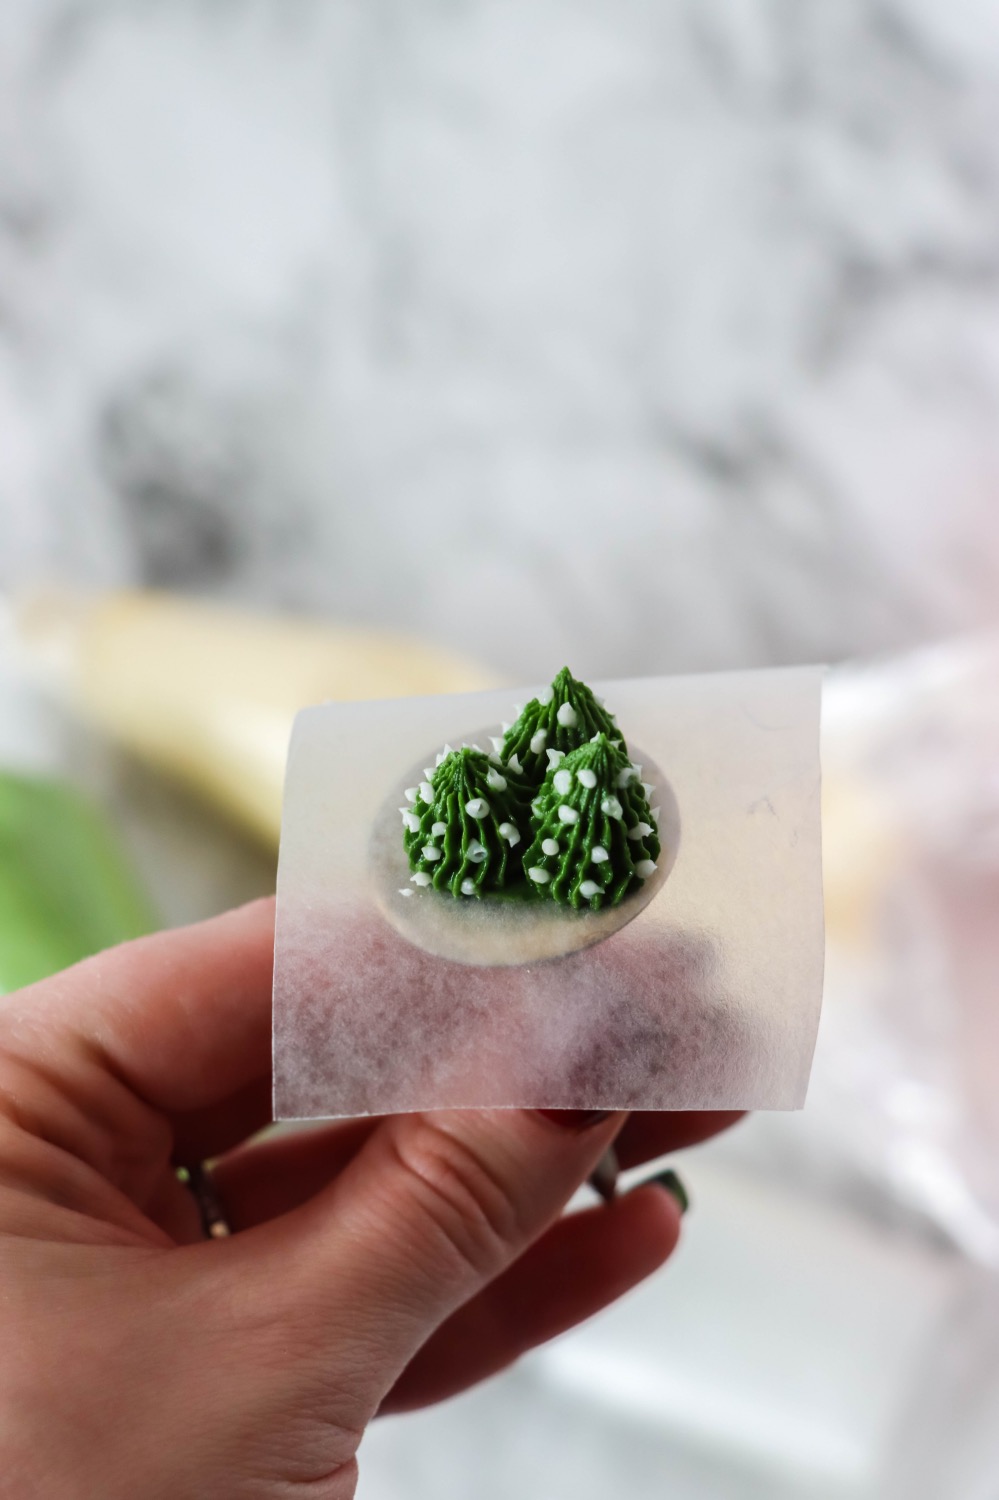
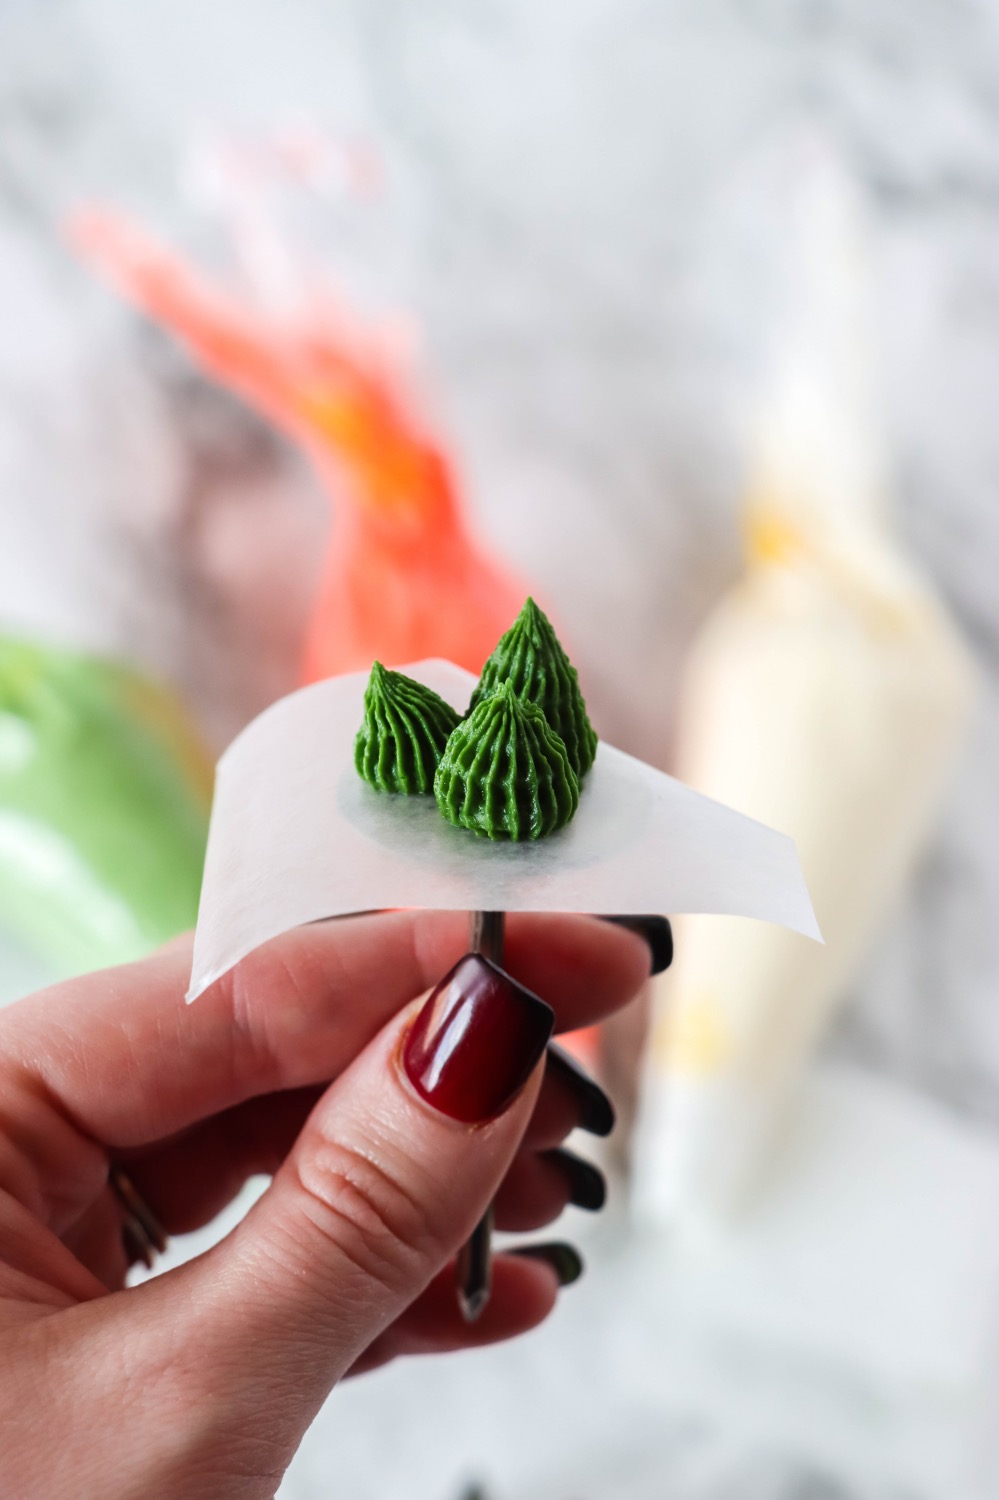
Remember, even if it’s hard at first, you will need 12 cacti total. So keep going and keep improving your technique over time. You will have plenty of extra frosting, so you can always throw out the ones you are not happy with.
To make the cactus spikes, use your #1 tip, and make tiny white dots.
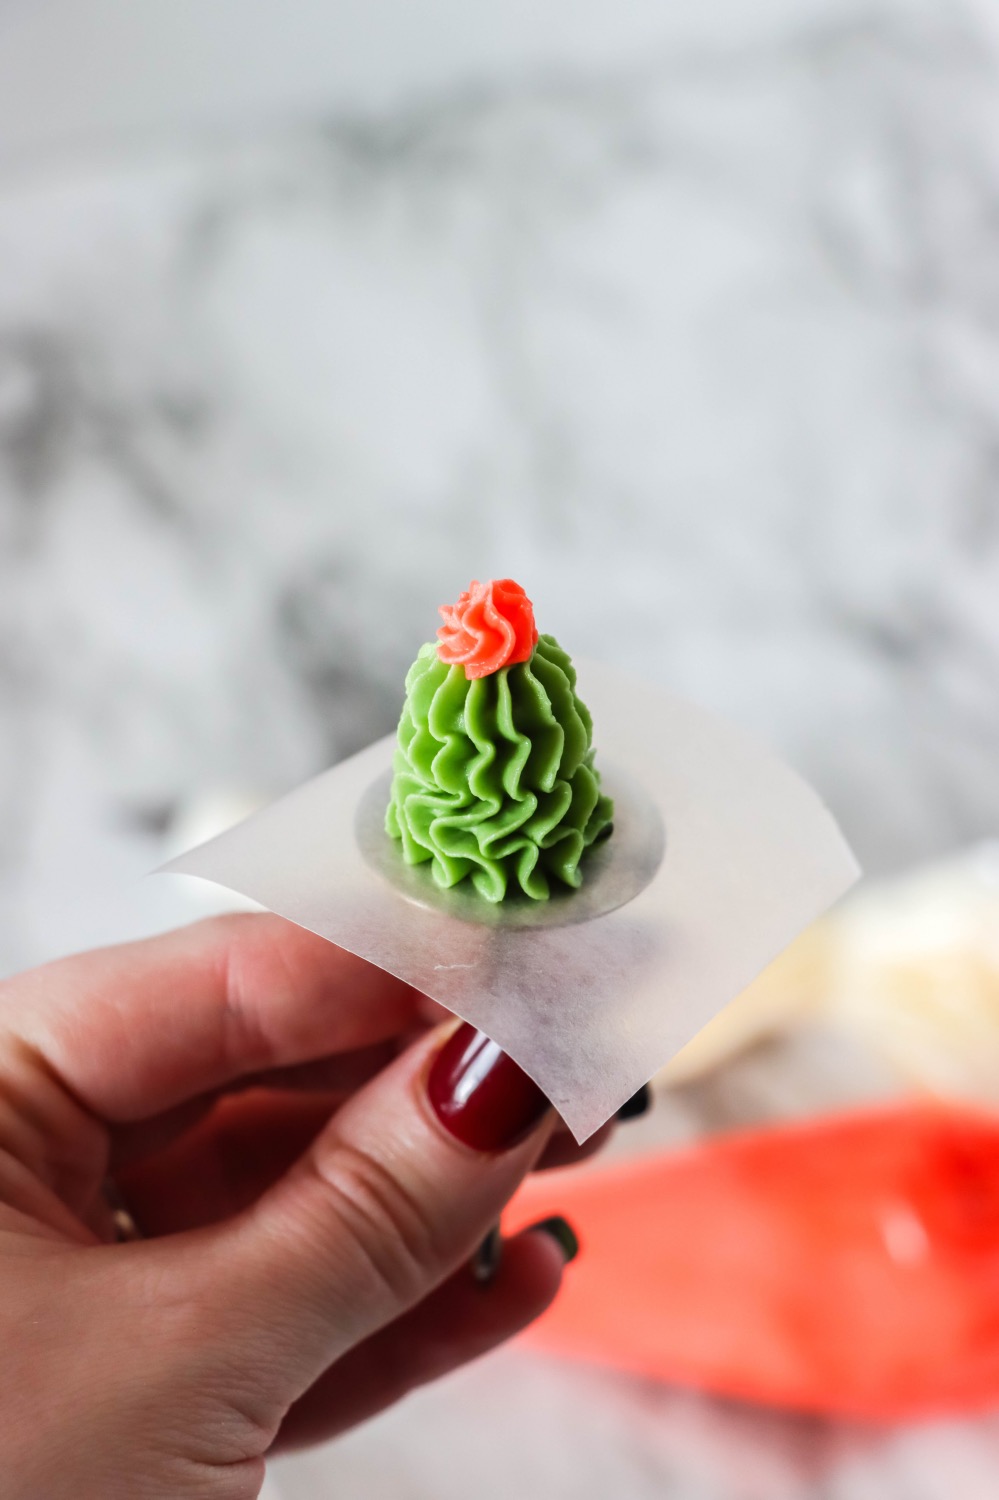
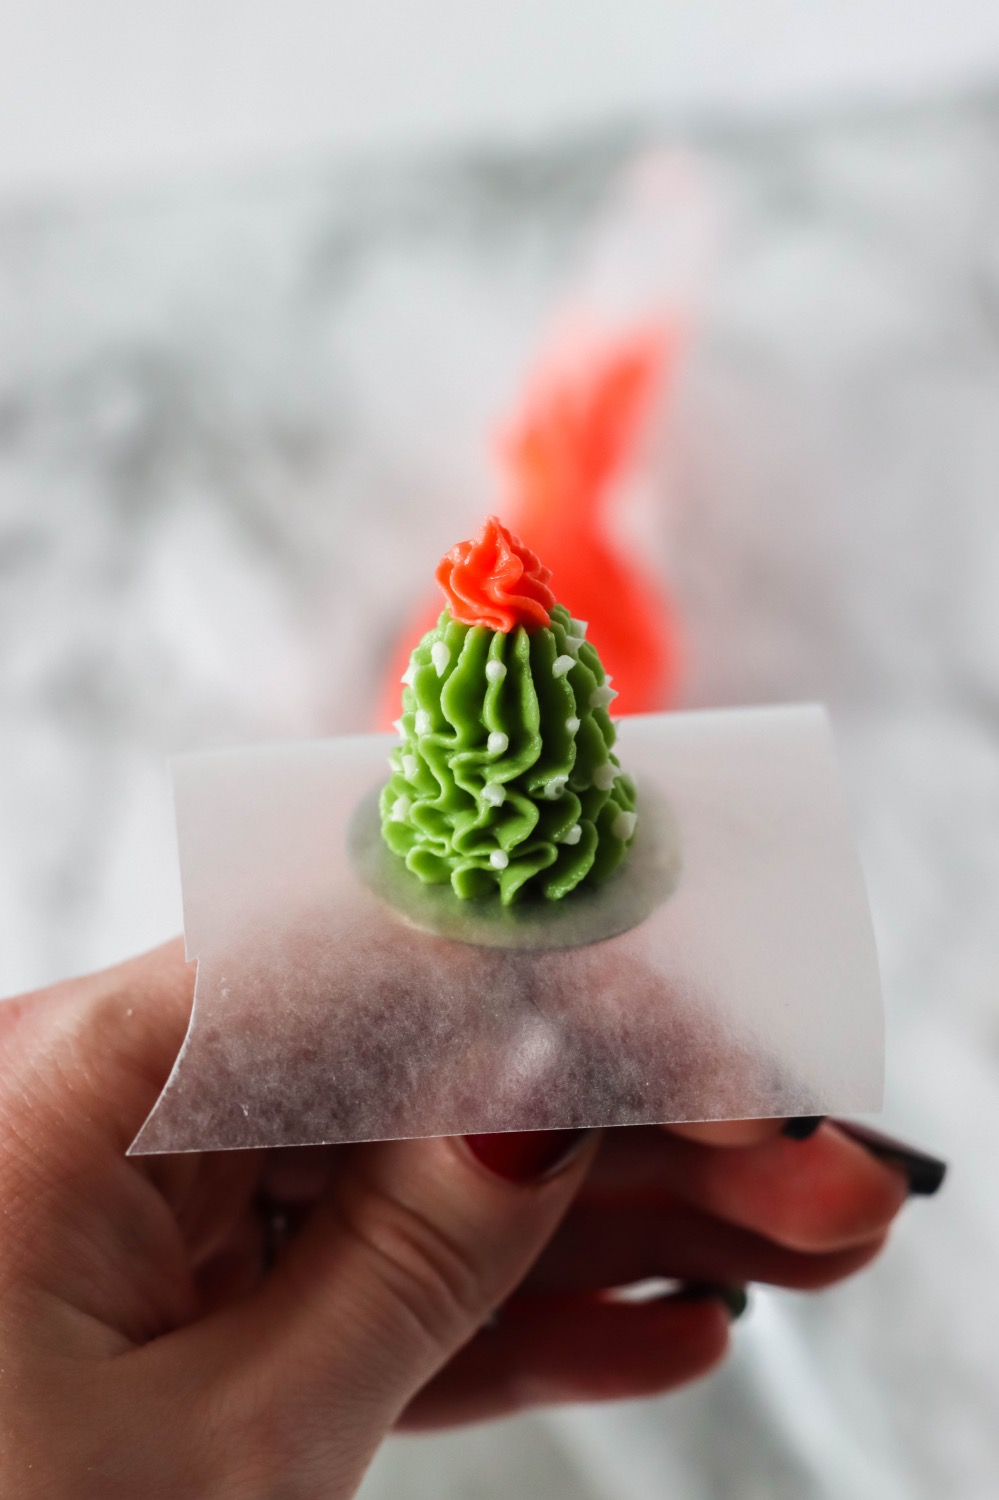
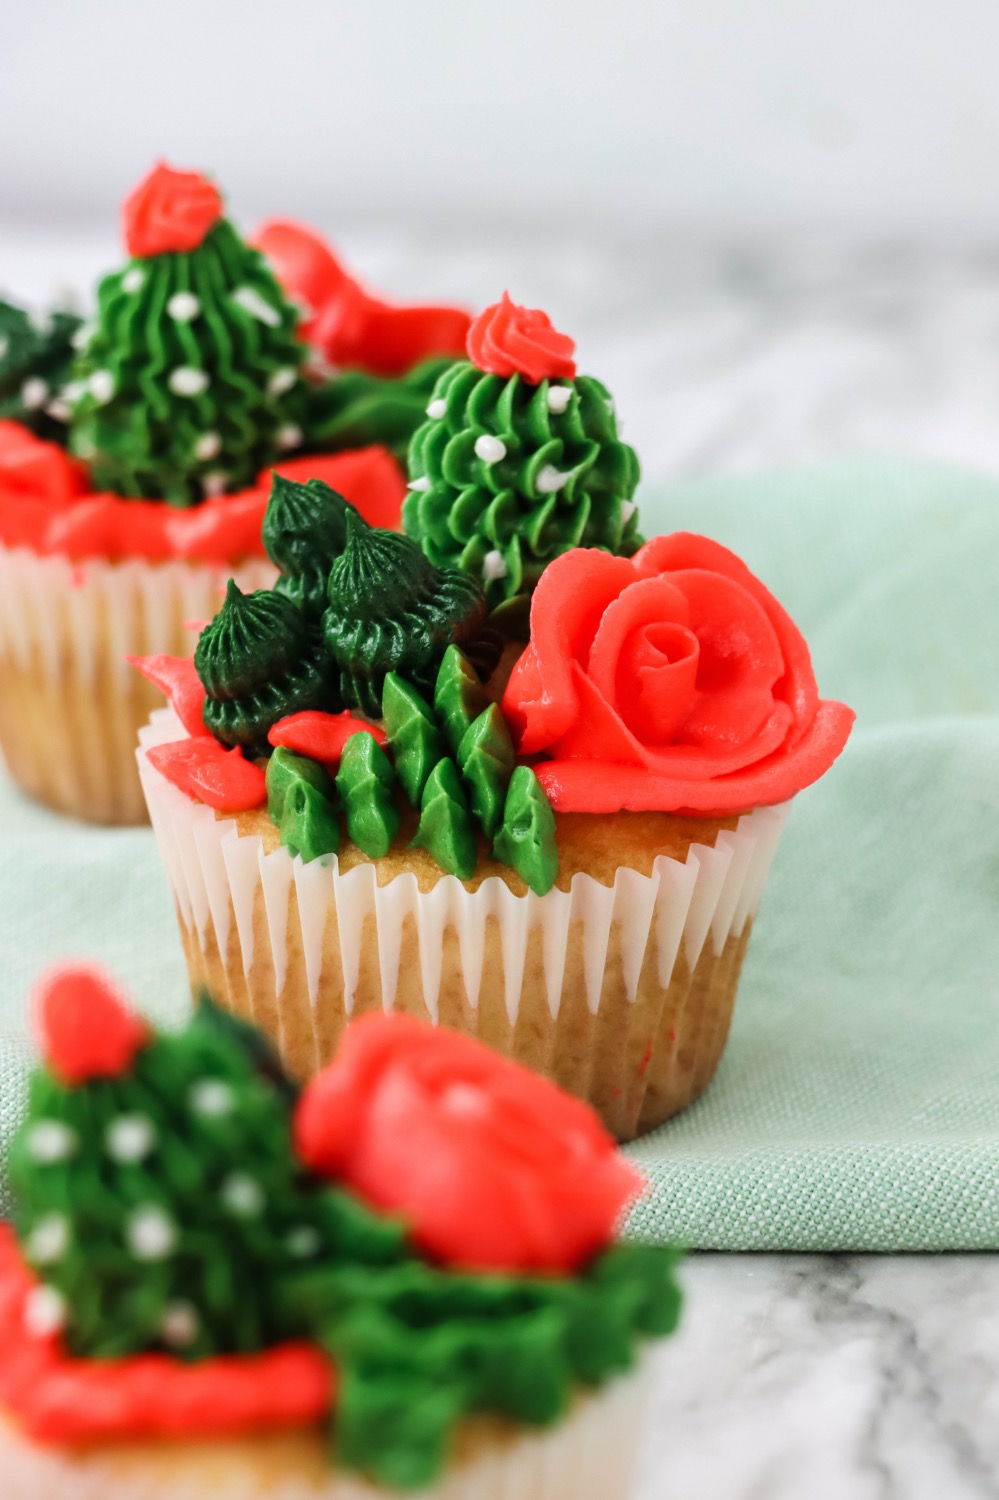
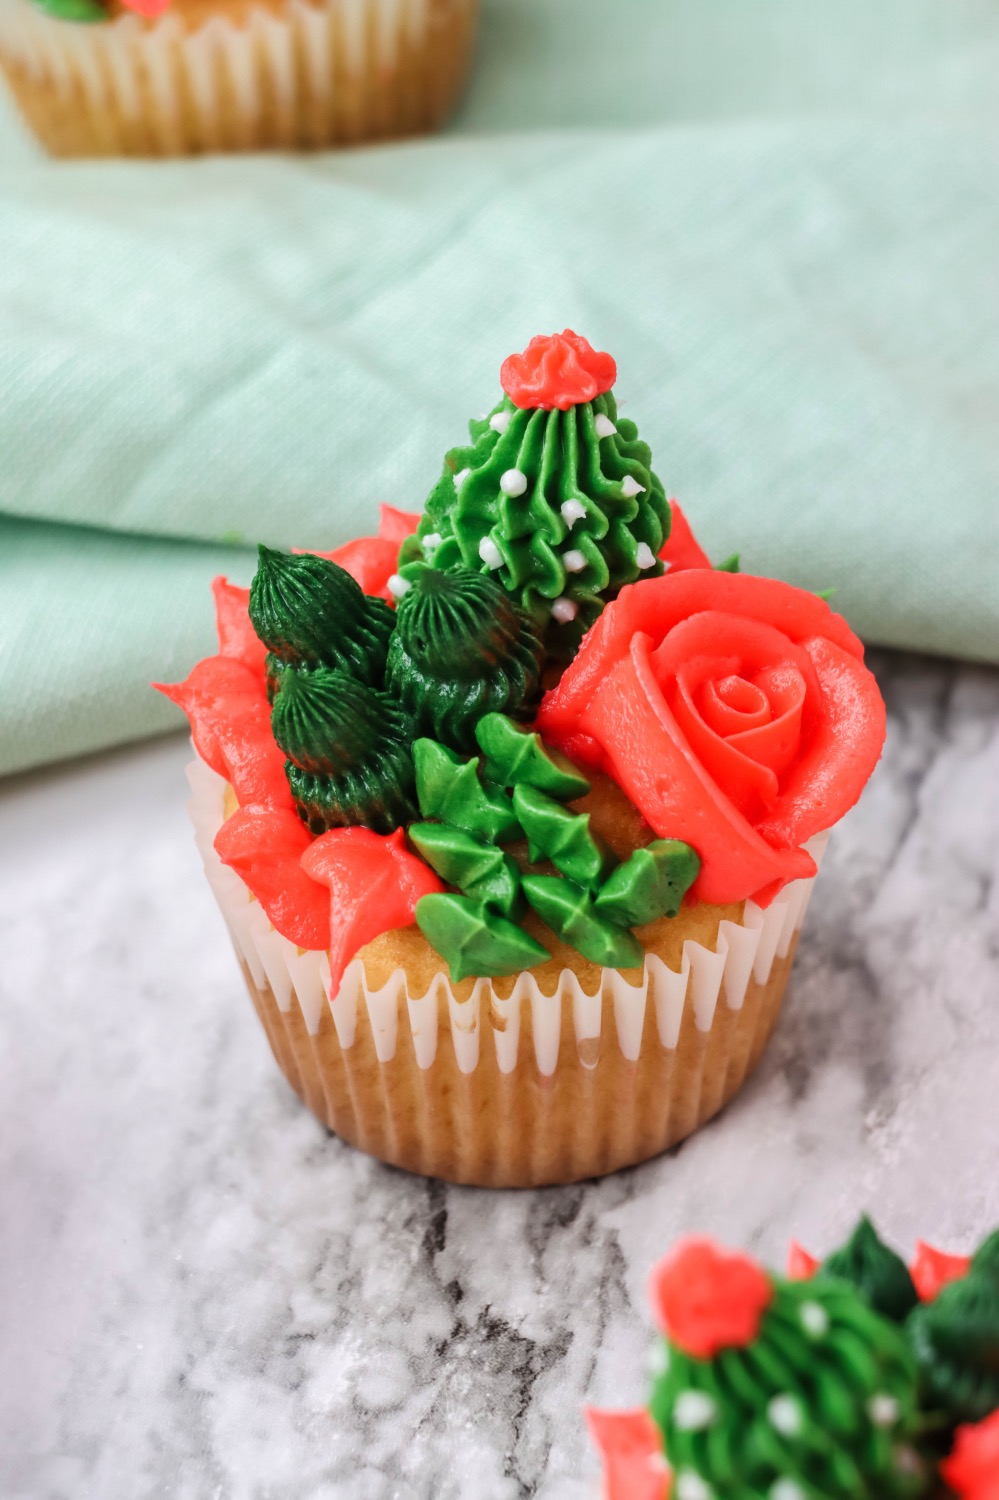
To make the second cactus, repeat the same process as the first with just a little twist. Attach the 4B tip to the light green frosting. With the piping bag completely vertical, squeeze the bag while pulling upwards and releasing pressure. Continue 3-4 times until you get the desired height of the cactus. So this cactus will be a little bit taller than your first!
Also instead of altering your squeeze pressure on the piping bag while lifting up, instead alter your squeeze slightly as you twist from left to right.
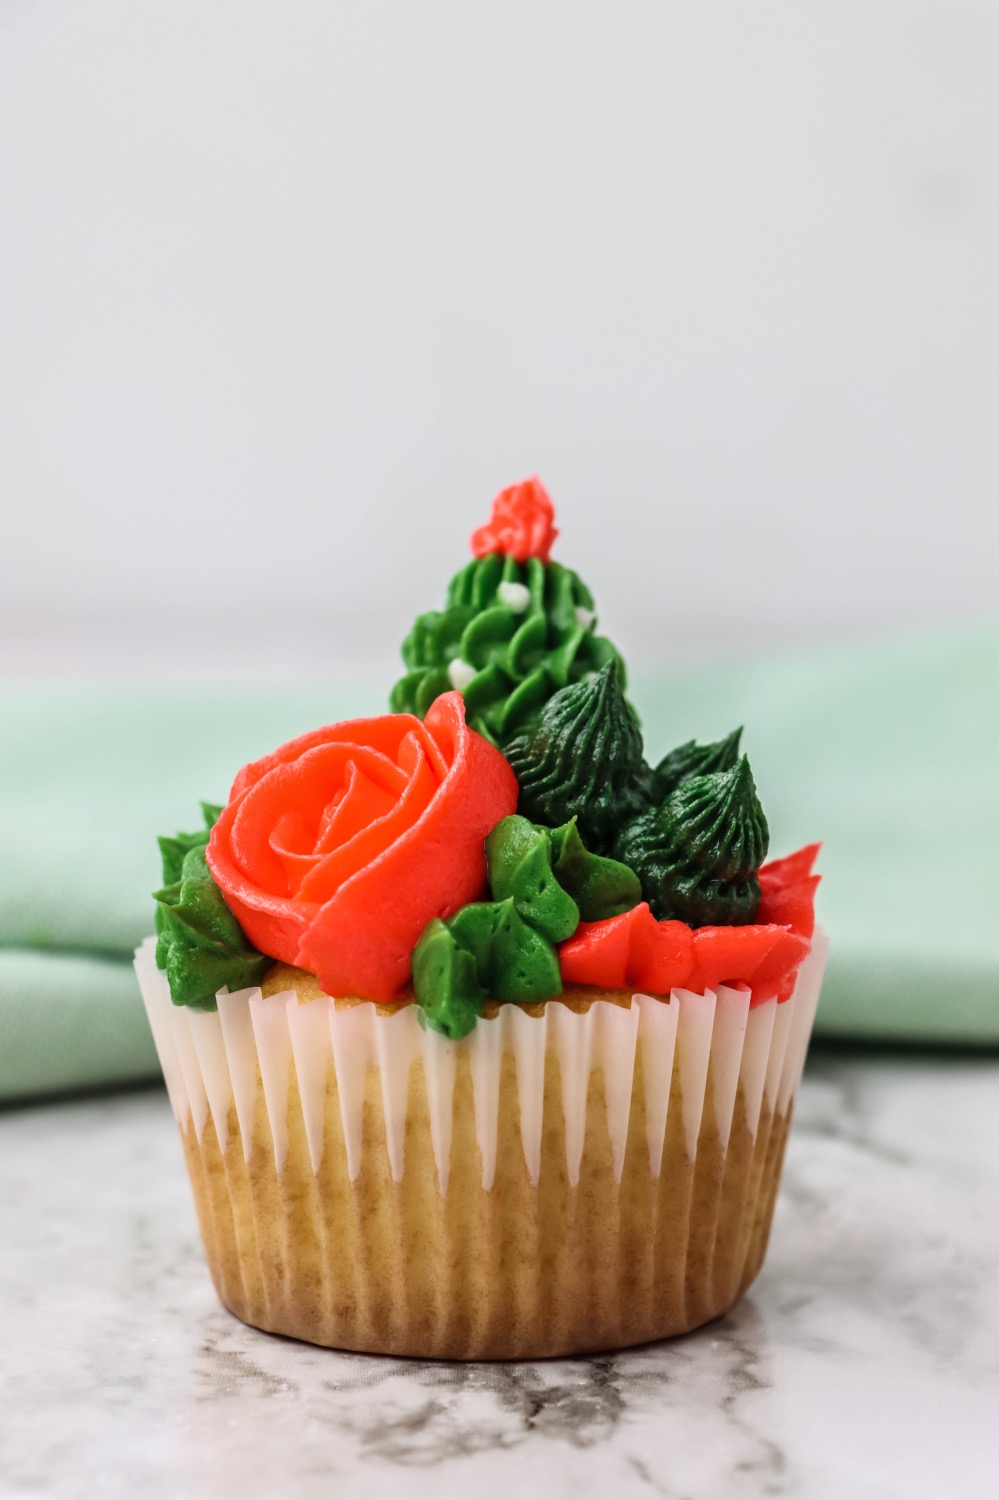
Last, use your #1 tip on the white frosting again and pipe small dots all along the cactus for the “spikes.” Then, attach the #16 tip to the peach frosting and pipe a small swirl on top of the cactus for the flower. So cute right?!
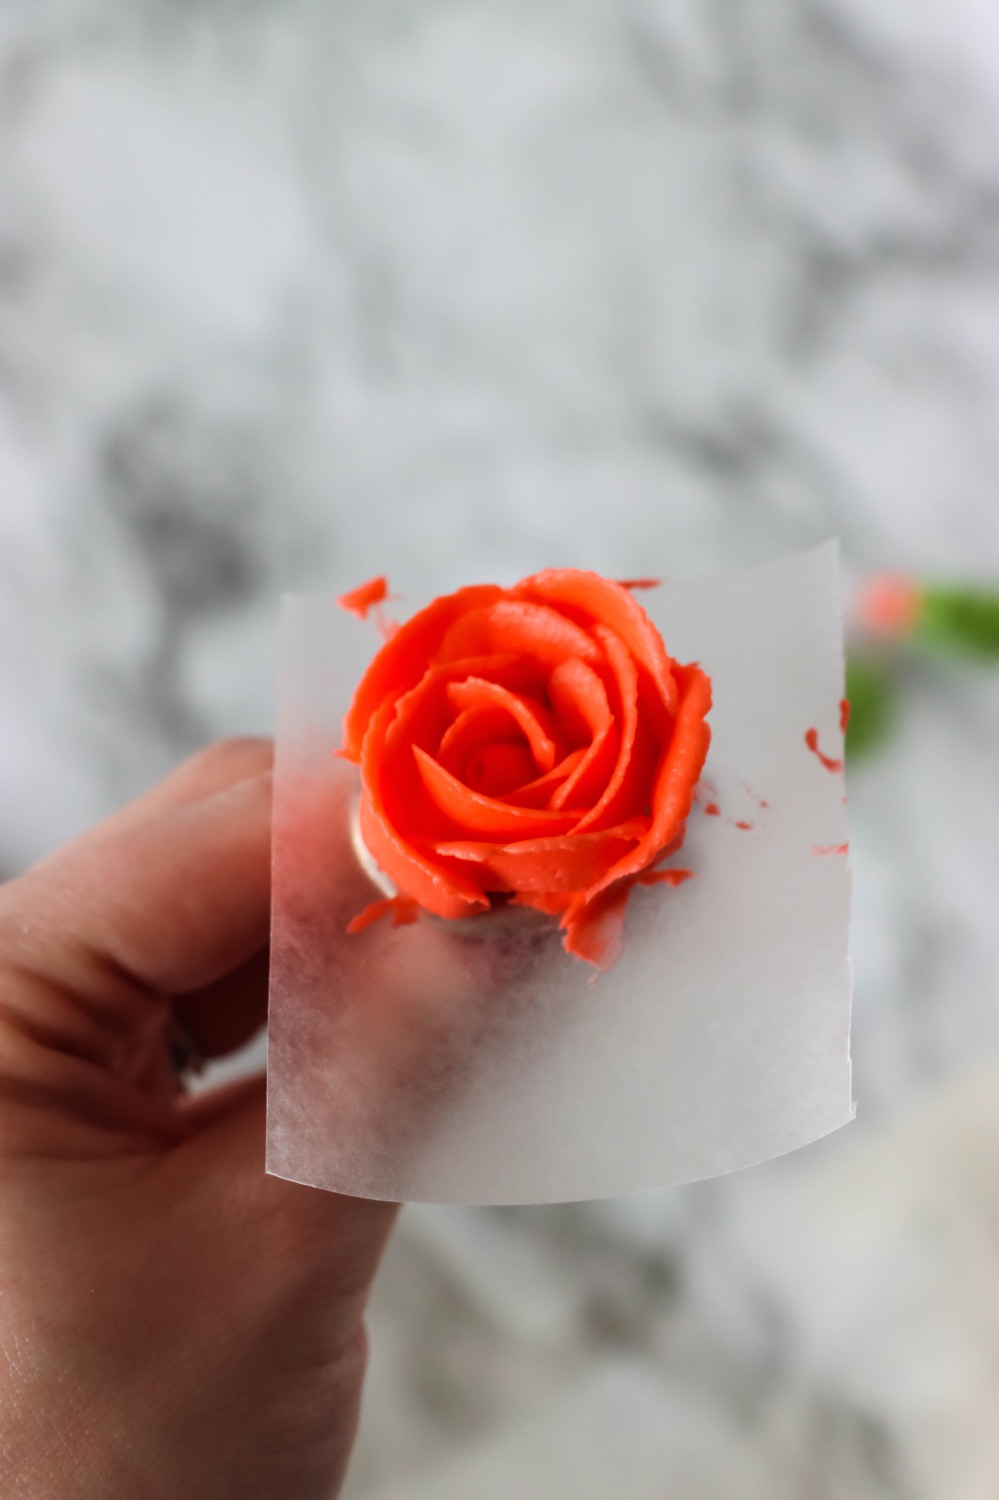
Now here’s a shape that you might be more familiar with – a simple flower!
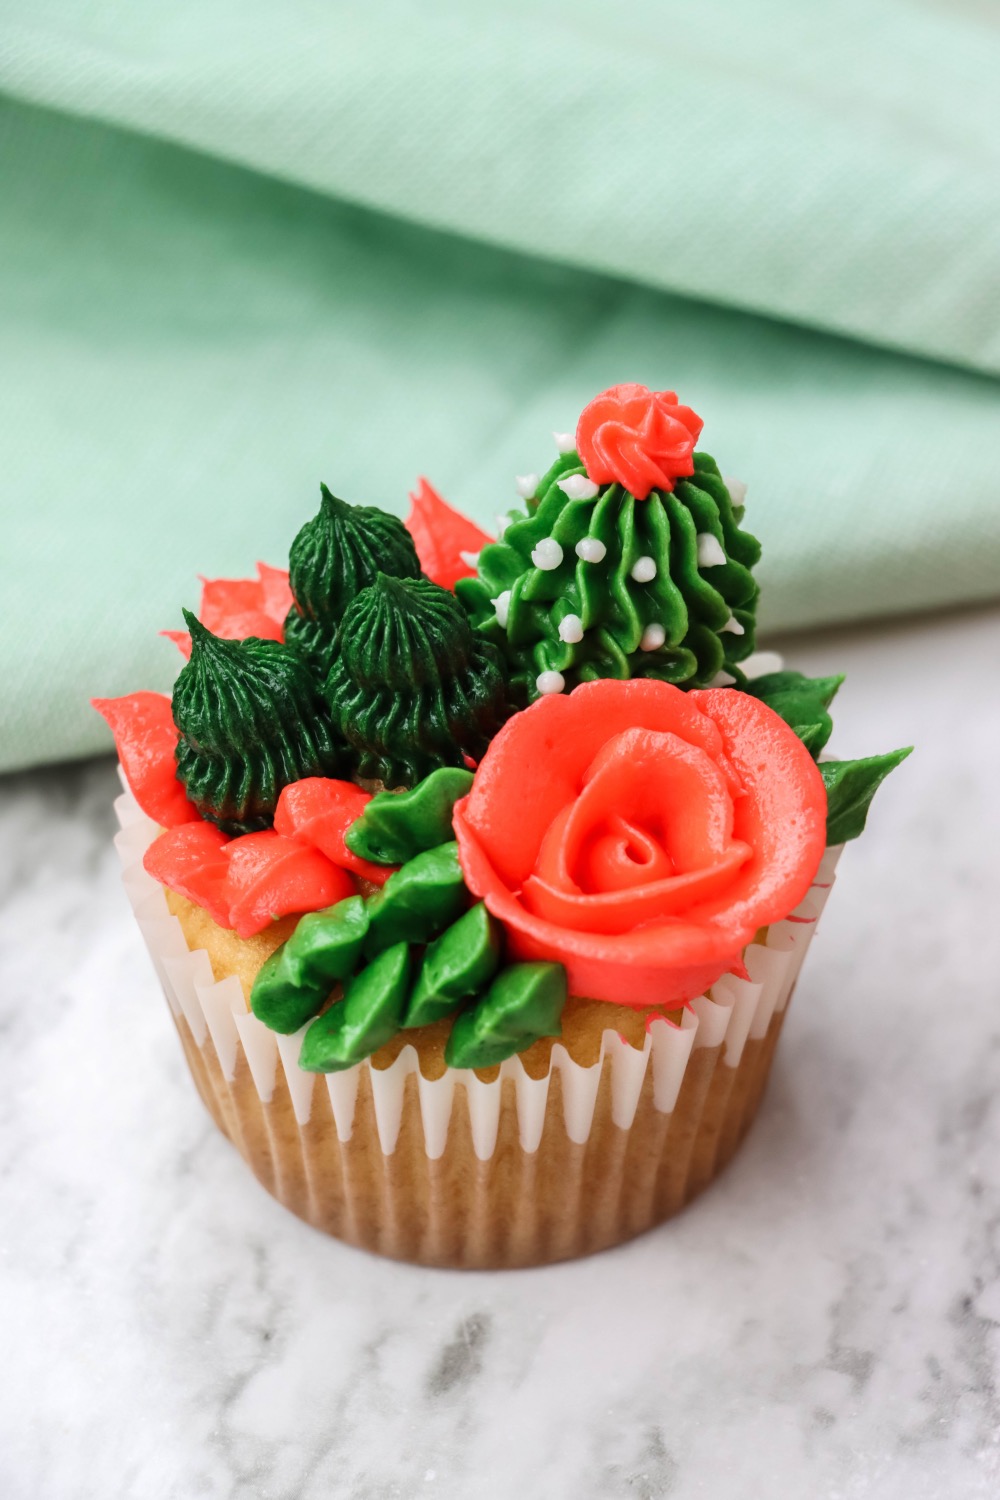
If we are going to have frosting cacti we have to have a gorgeous peach flower. For this shape, attach the #102 tip to the peach frosting. Starting in the middle of the parchment, place the tip with the large opening touching the nail. Squeeze an even amount of pressure while turning the nail with your other hand creating a circle. Create 3 “leaves” around the center circle by making a rainbow pattern with the buttercream all the way around.
Here’s a handy Youtube video that shows this process!
Now whether you have been working on your flower nail or on directly on your parchment pieces on a flat surface, place all your cactus and succulents together and allow the frosting to set. I would recommend placing them in the fridge for at least 1 hour. This will make them easier to transfer to the cupcake!
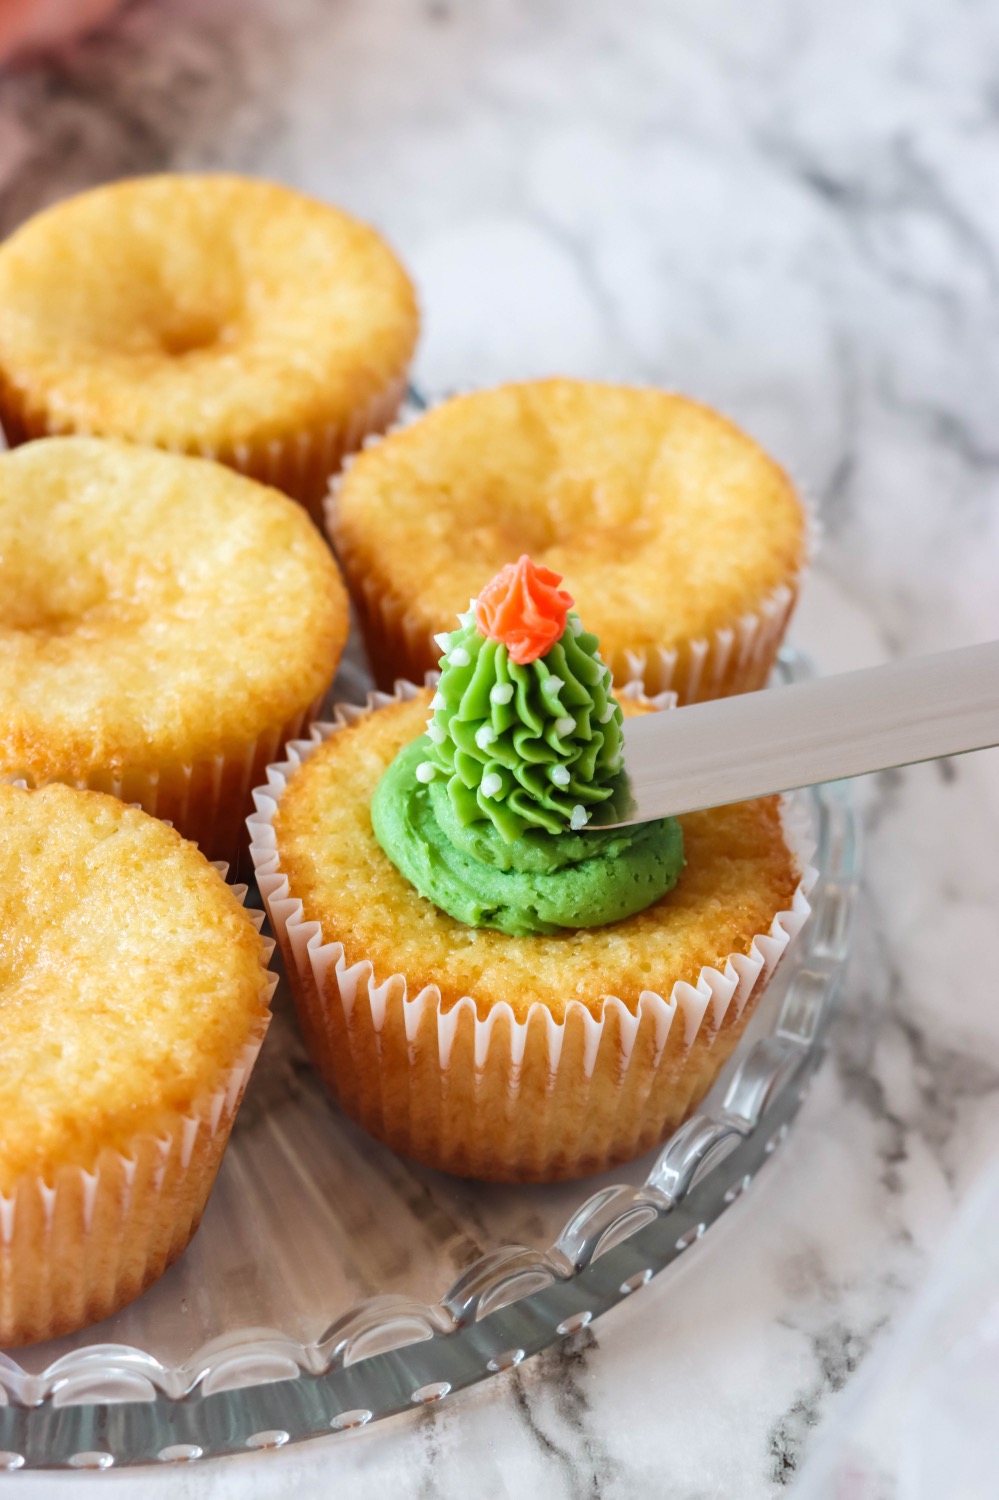
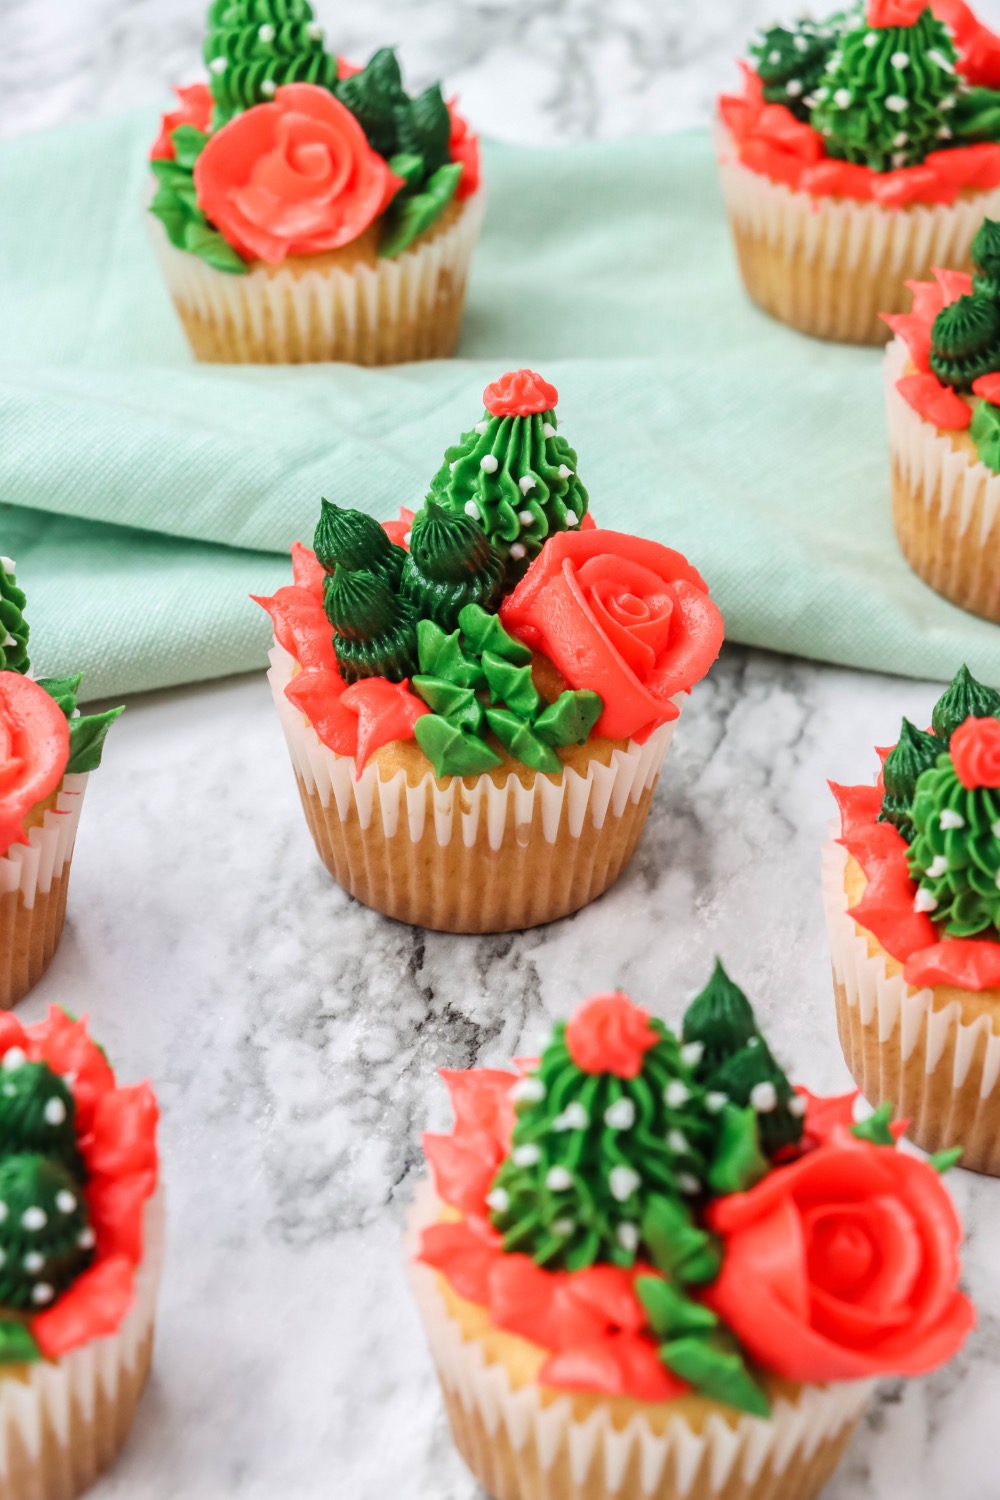
Pipe a small amount of light green frosting on to your cupcakes, to create a ground for your succulents.
Then use a large butter knife or spatula to gently move your frosting sculptures from your parchment and baking tray to the actual cupcakes.
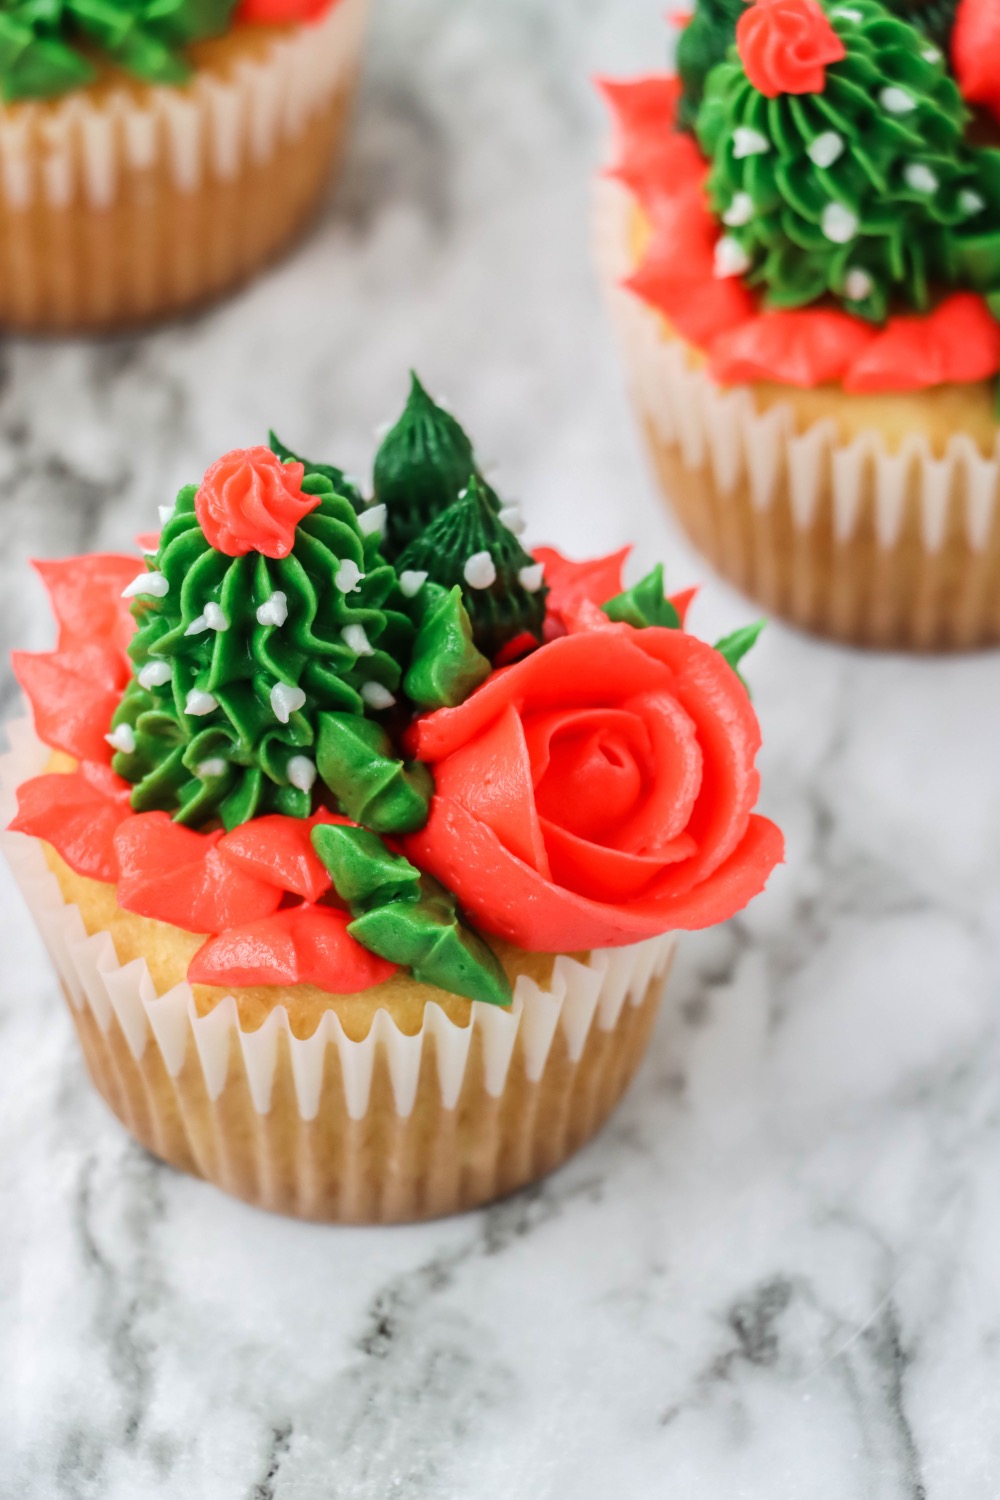
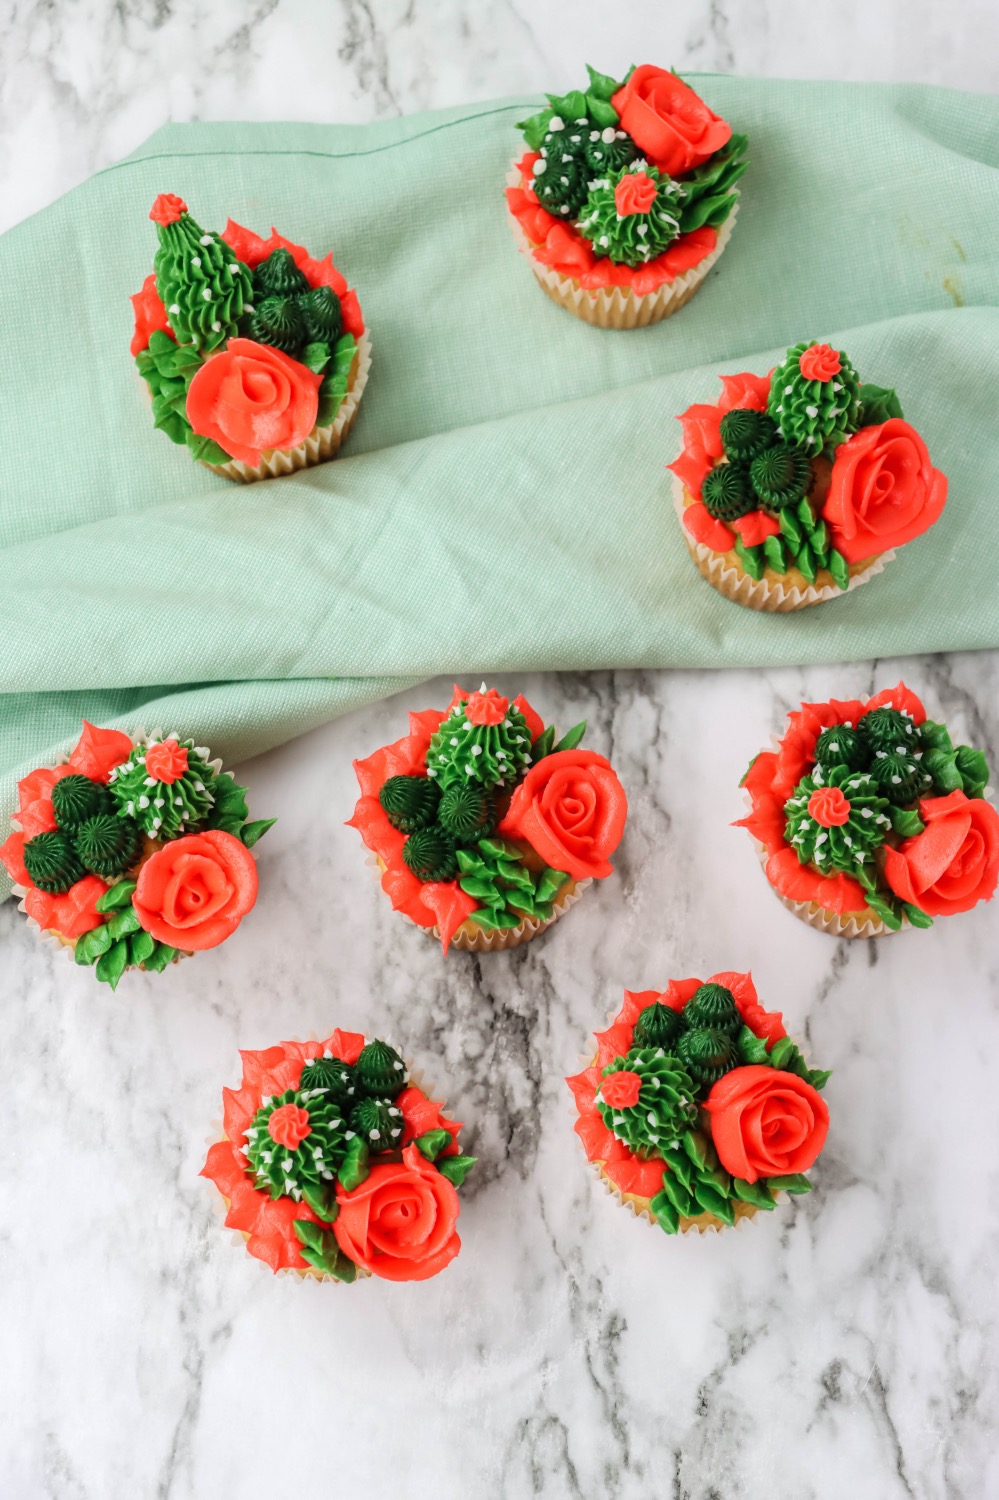
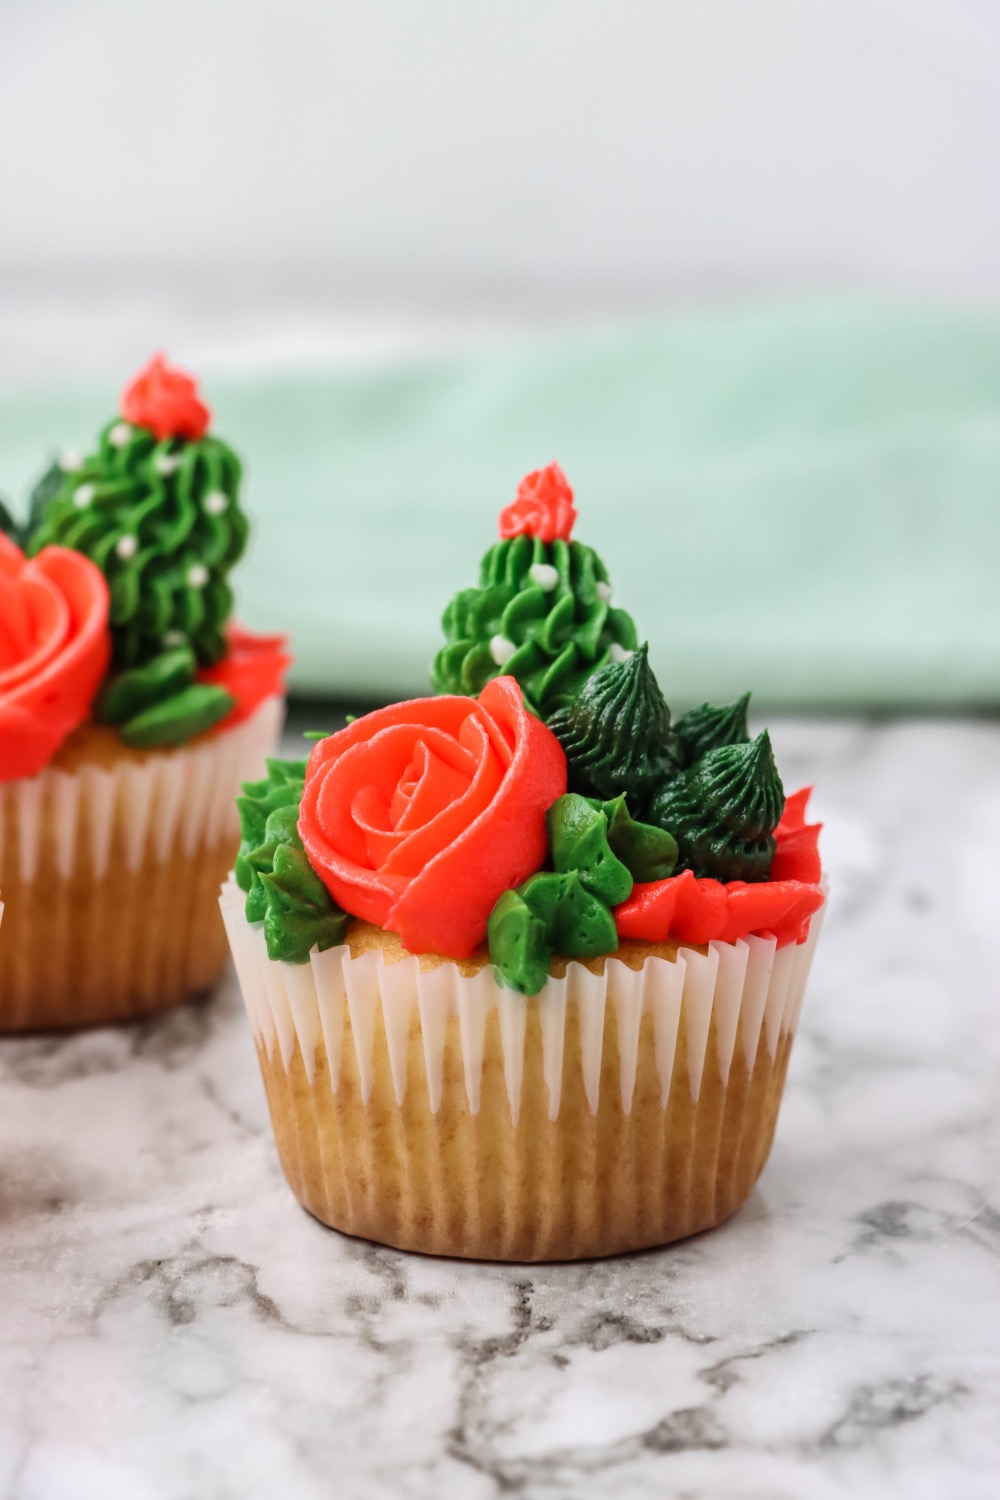
Try to make each cupcake just a little different – use different cactus shapes on each and arrange them into different patterns too!
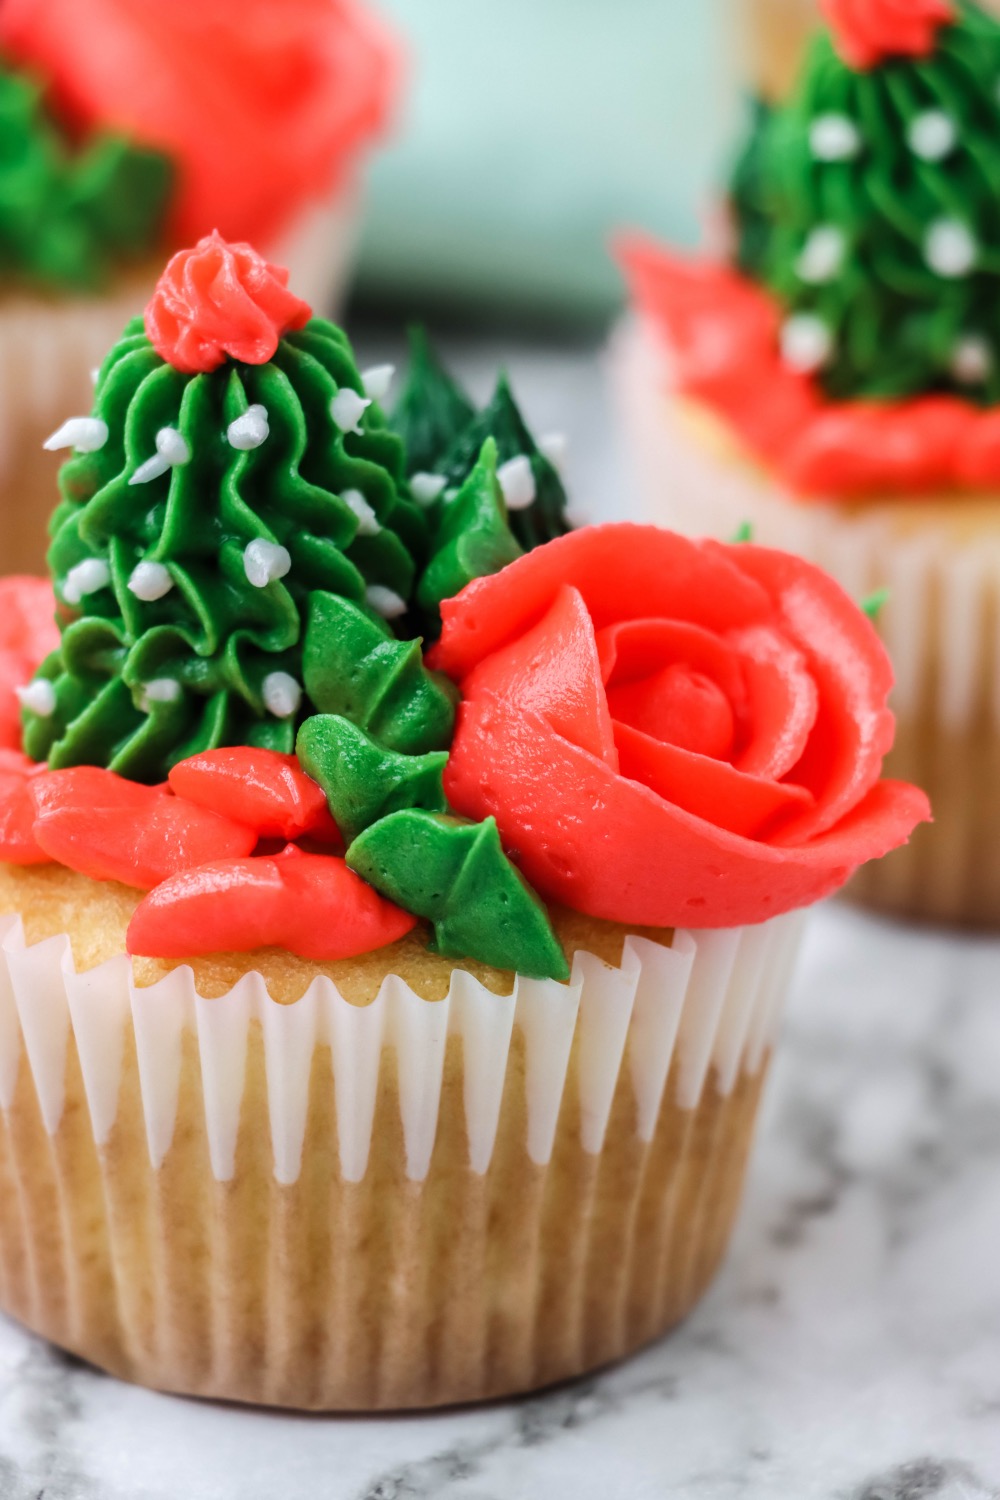
Feel free to fill in free space with the #352 tip making leaves around the succulents! I chose to make little leaves in both light moss green and peach.
Although this video doesn’t use a #352 tip like I did, here’s a great tutorial on how to make a leaf shape.
And viola! Succulent Cupcakes! Now the real question is how are you going to plate them and how are you going to serve them?
If you make these cupcakes, tag us online or comment below to show us how they turned out! We can’t wait to see.
And if you need even more gorgeous desserts how about these: Pink Ombre Strawberry Cake with Whipped Cream Frosting Recipe and Rosemary Olive Oil Cake with Whipped Cream Cheese Frosting. YUM!
Let’s Be Friends!
Insta | Pinterest | Enews | TikTok

These succulent cupcakes are so adorable. My daughter loves cactus so this is going to make her very happy. I pinned this using my tailwind schedule button, but I wanted to let you know I don’t see any of your share buttons!